To connect via FTP/SSL (AUTH TLS), navigate to the General panel, expand the drop-down list beside Connection Type, and select FTP/SSL (AUTH TLS).
Figure 13
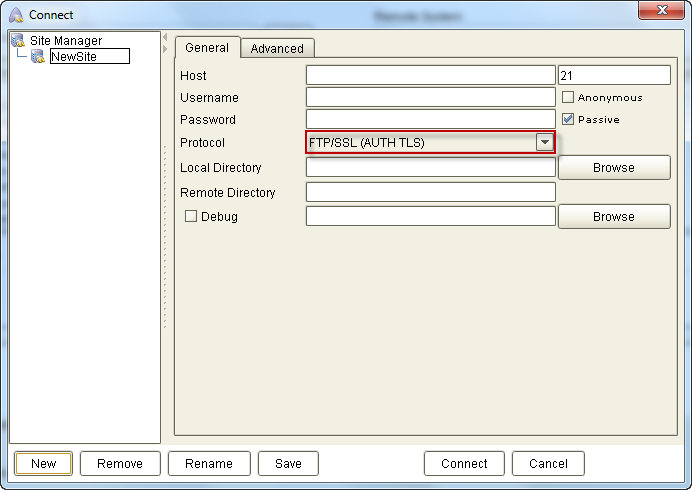
Note that the settings displayed on the dialog box will vary depending on which connection type you choose. So it is important that you select the Connection Type first before entering any setting values.
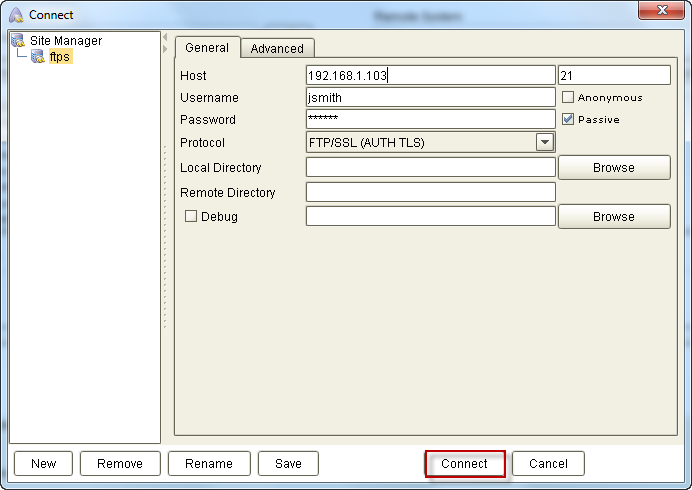
Basic FTP/SSL (AUTH TLS) settings
Normally, you would only need to specify these three settings for a simple FTP/SSL (AUTH TLS) configuration:
Host – This is the address of your server. (e.g. 192.168.1.103). The small box you see beside the Host box is where you're supposed to enter the port number. In most cases, you can just leave it to the default: 21.
Username – The username required for logging into the ftp site.
Password – The corresponding password for that username.
Once you've assigned the appropriate values to those settings, click the Connect button.
Figure 14
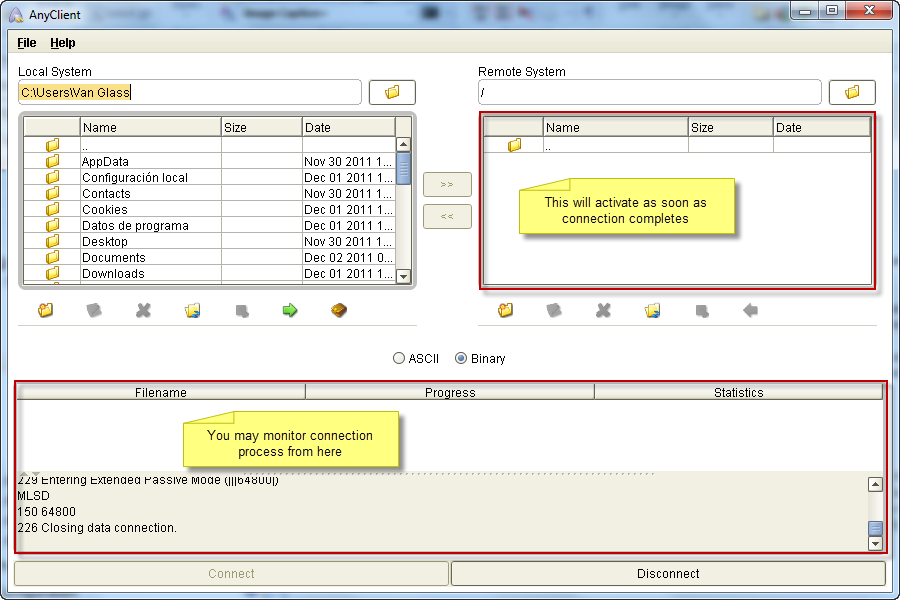
Assuming everything goes smoothly, the Connect dialog box will close and you'll be brought back to the home screen. You'll then be able to monitor the entire connection process through the panel found at the bottom of the home screen.
As soon as the connection completes, the right panel under the Remote System side of the home screen will activate and display the files and folders on the server.
Figure 15
Advanced FTP/SSL (AUTH TLS) settings
Other servers may require you to specify more settings. Your service provider can provide you with this information. Depending on how the server is configured, you may need to specify some or all of the following settings in addition to the basic FTP/SSL (AUTH TLS) settings taken up earlier.
Anonymous check box - Check this check box only if you're logging into an anonymous ftp site. Otherwise, leave it unchecked. If you check it, the client will automatically fill in the username text field with 'anonymous'.
Passive check box – In most cases, you'll want to keep this checked. Communication via FTP is done using either one of two modes: Active and Passive. However, Active is rarely used. That's why the Passive check box is checked by default.
FTP Transfer Options
IPv6 Options – The recommended option here is auto-detect because it automatically detects whether the server is configured for IPv4 or IPv6. The number of servers that you can connect using the IPv6 protocol is steadily increasing. However, there are still many that are using Ipv4. If auto-detect doesn't work and you know what protocol (IPv4 or IPv6) is being required by the server, choose either true (for IPv6) or false (for IPv4).
File Timestamps
Preserve upload timestamps – After uploading a file to server the timestamp of file on server is changed to that of the client.
Preserve download timestamps – After downloading a file from server the timestamp of file on client is changed to that of the server.
Proxy Settings
If you're having trouble connecting to a server from your office LAN, it's possible that a proxy server is in the way. Contact your network administrator and, after confirming that a proxy indeed exists, ask for the required proxy settings. These are the information you'll need:
Proxy Host – The address and port number for your proxy server. Enter the address into the bigger box and the port number into the smaller box.
Proxy Type – The default is NONE, whereby you don't need to specify any proxy settings. The other two options are SOCKS5 and HTTP. Choose one from the drop-down list.
Proxy User – This is the username required to connect to the proxy server.
Password – This is the corresponding password for that username.