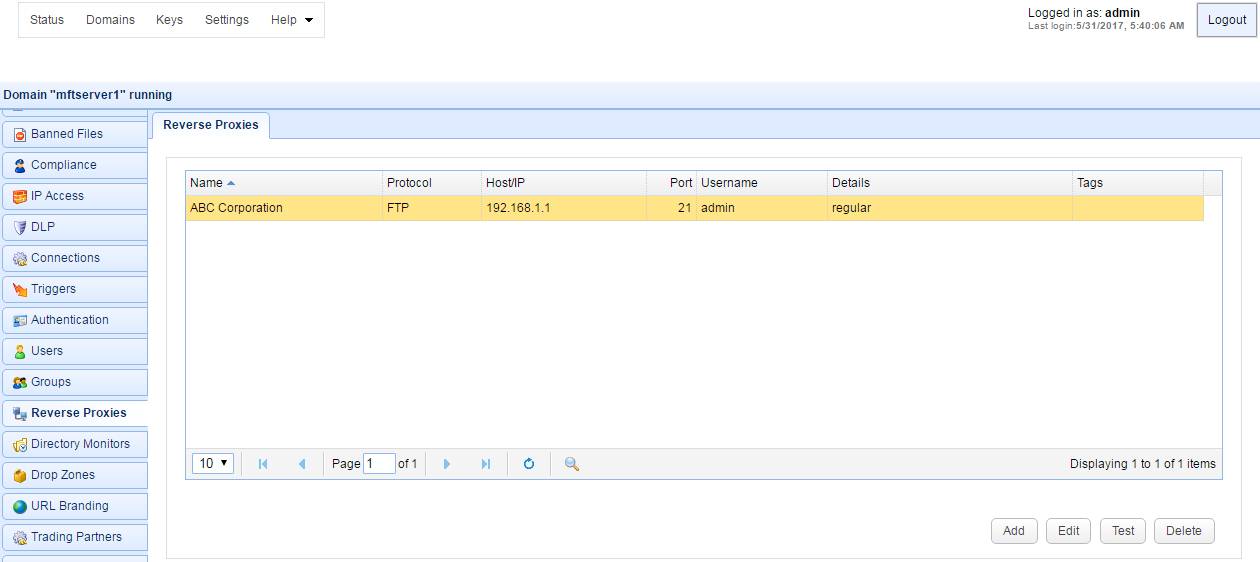
You may create a reverse proxy using the JSCAPE MFT Server Manager. To view a list of reverse proxies click on the Reverse Proxies node for the desired domain.
Figure 48
Add reverse proxy
To add a reverse proxy click on the Add button in the lower right corner. Choose a protocol from the drop-down list. The Add Reverse Proxy dialog will be displayed.
Figure 49
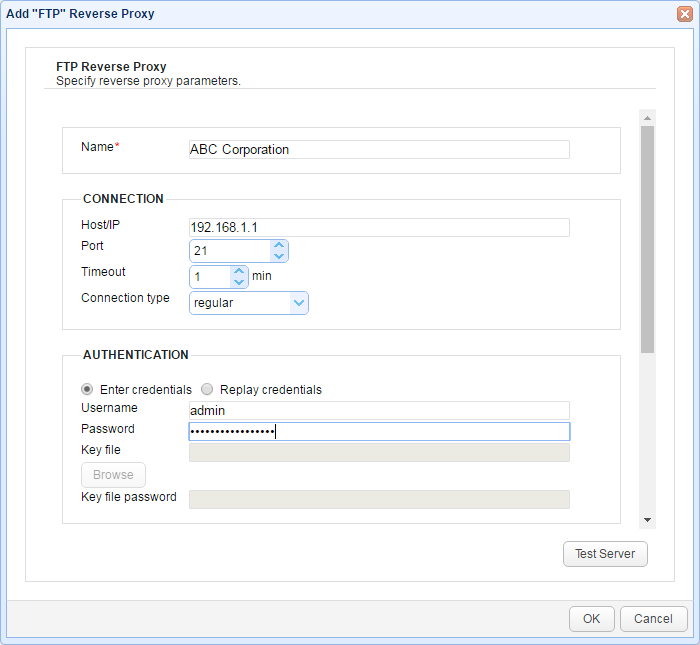
Name - Unique name for this reverse proxy.
Host/IP - The remote IP or host address for this reverse proxy.
Port - The remote port for this reverse proxy.
Timeout - The maximum timeout for establishing a connection to remote server.
Connection type - The connection type for this reverse proxy.
Enter credentials - Enables the administrator to specify a static username and password for all users
Replay credentials - Uses the current user's credentials instead of a static username and password.
Username - The username for connecting to this remote server.
Password - The password for connecting to this remote server.
Key file - The optional client private key to use for this connection. (FTPS/SFTP)
Key file password - The optional client private key password to use for this connection. (FTPS/SFTP)
Remote directory - maps local virtual path to a specific remote virtual path
Map current local directory to remote directory - If enabled, maps local virtual path to remote virtual path having the same name as the local virtual path. For example, if reverse proxy is mapped to virtual path /path then when connecting to reverse proxy it will drop user in /path directory on target server.
Debug log directory - Directory in which to store debug logs for this reverse proxy.
Max proxy age - The maximum amount of time to keep this reverse proxy connection in connection pool.
Use passive transfer mode - Flag indicating whether passive mode is used for connecting to this remote server.