Administrative tags may be used to restrict the data within a module that an administrative user may have access to. For example, I may need to grant an administrative user access to the Users module but limit their visibility to those users within a specific geographic region. This can be accomplished by creating an administrative Tag, tagging those users in desired region with specified tag, assigning tag to a Role and then assigning role to an administrative user.
Creating an administrative tag
Creating an administrative tag
To create an administrative tag go the Settings > MANAGER SERVICE > Administrators > Tags tab. A list of available tags will be displayed.
Figure 204
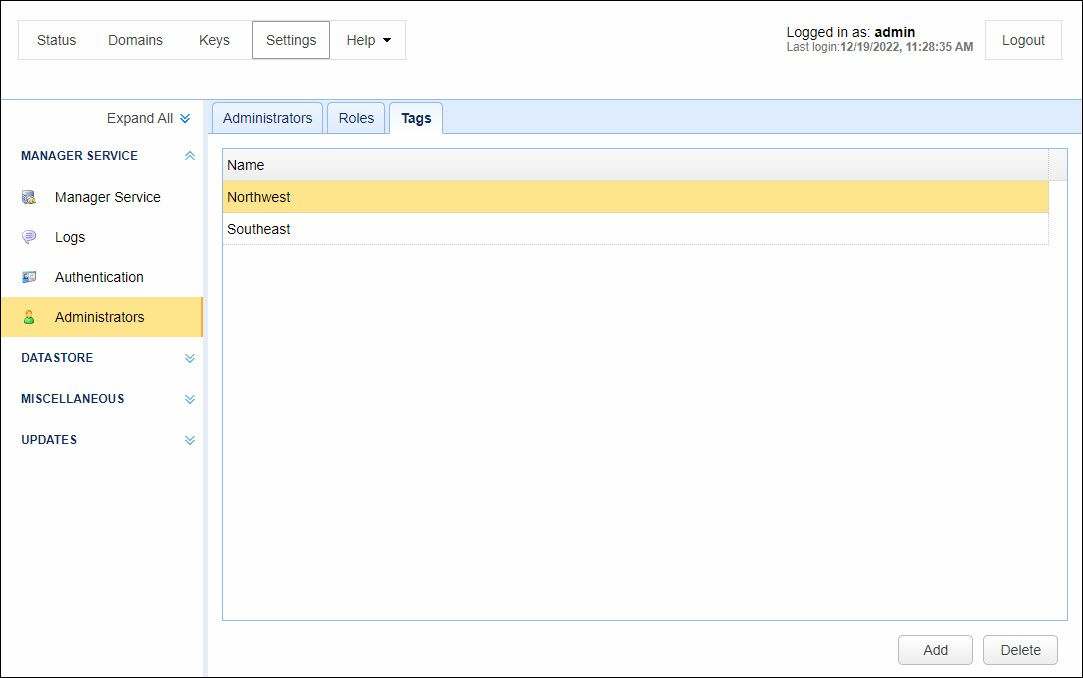
Name - The name of the tag.
To create a tag click on the Add button. The Add Tag dialog will be displayed. Enter a tag name. Click OK to save. Once created this tag may be assigned to a Role and used in tagging data.
Figure 205
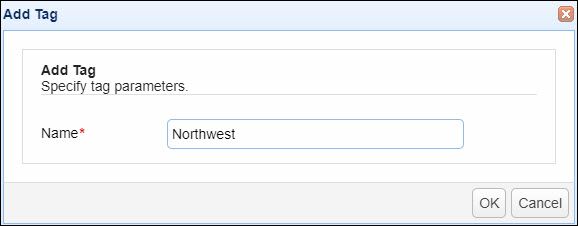
Name - The unique name to assign this tag. The tag name supports alphanumeric characters, underscore, dash and symbols ()#@&'
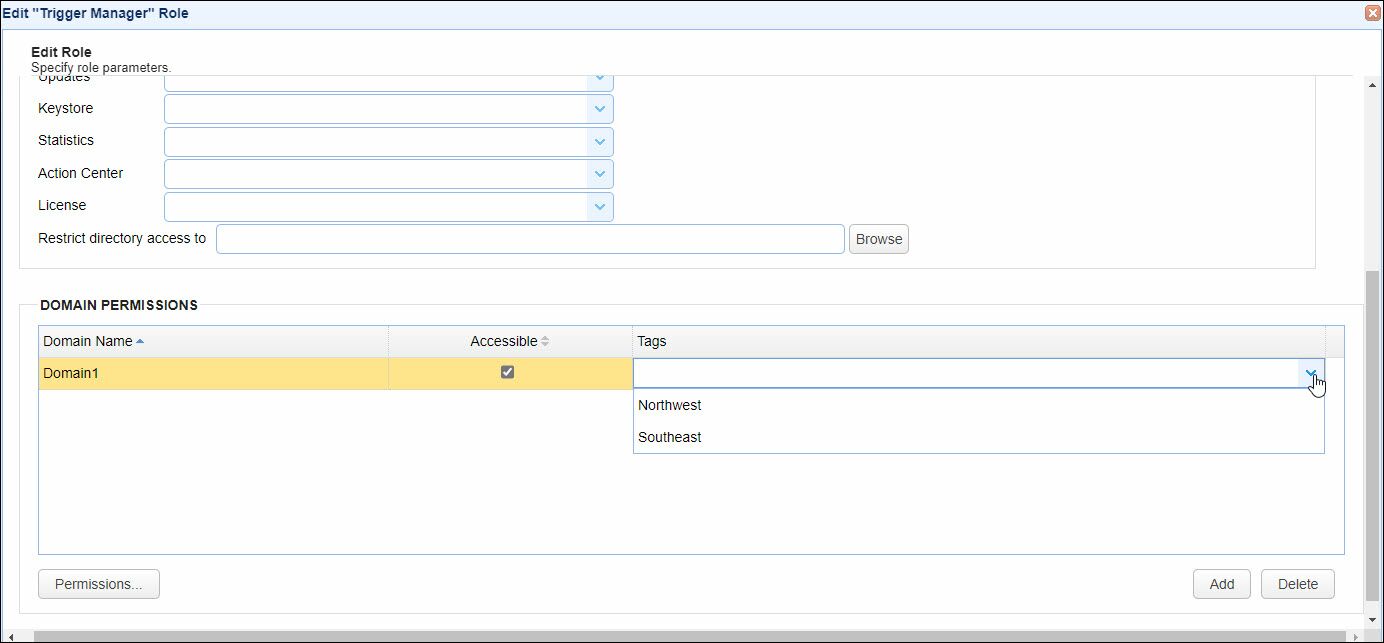
To assign a tag to a role, select the desired role from the Roles tab and click the Edit button. Scroll to the Domain Permissions section and click on the Tags cell for the desired domain. At this point a drop-down of available tags will be displayed. Select the desired tags and click OK to save.
Figure 206
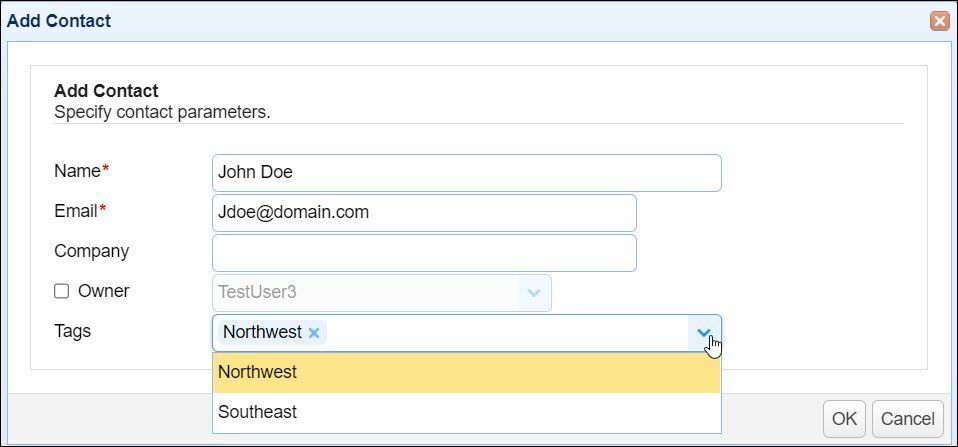
Many types of data may be tagged. These include Triggers, Users, Groups, Groups, Network Storage, Directory Monitors, Drop Zones, Contacts and more. You may tag an object during creation or while editing an object. The example below demonstrates tagging a Contact with the Tag Northwest. This will limit visibility of this Contact to those administrators who are assigned a Role that has a Tag of Northwest.
Figure 211