To connect via WebDAV, navigate to the General panel, expand the drop-down list beside Connection Type, and select WebDAV.
Figure 16
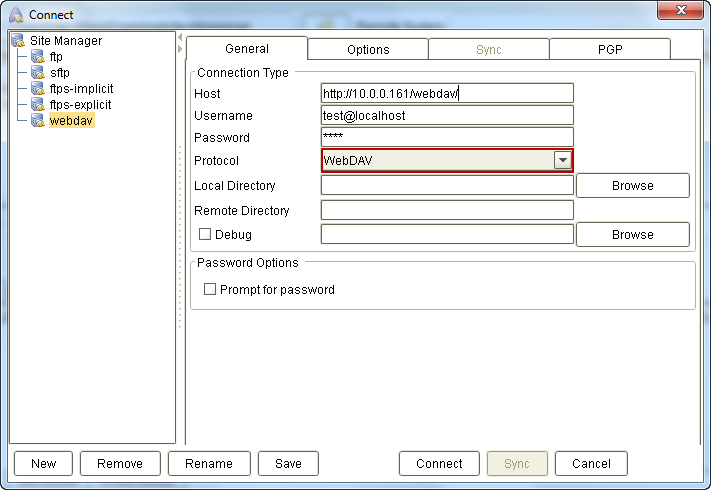
Note that the settings displayed on the dialog box will vary depending on which connection type you choose. So it is important that you select the Connection Type first before entering any setting values.
Basic WebDAV settings
Unless you're behind a proxy, you'll only need to configure these three settings:
Host – This is the address of the server or the WebDAV-enabled folder on the server. For example:
| • | http://192.168.1.103 |
| • | http://192.168.1.103/folder/ |
Username – The username required for logging into the site.
Password – The corresponding password for that username.
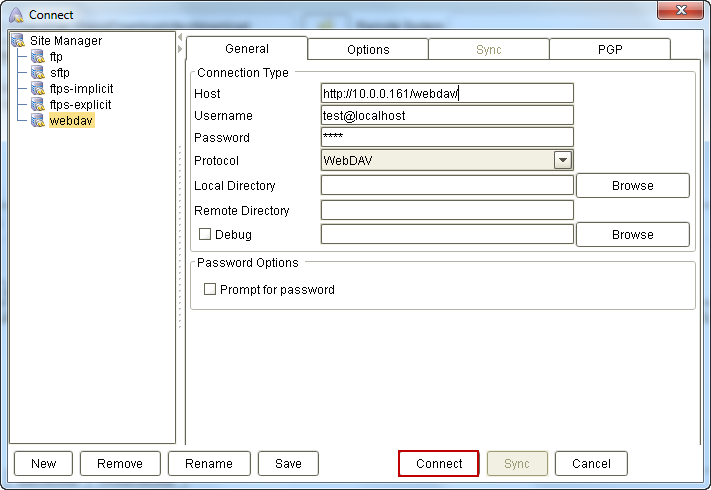
Once you've assigned the appropriate values to those settings, click the Connect button.
Figure 17
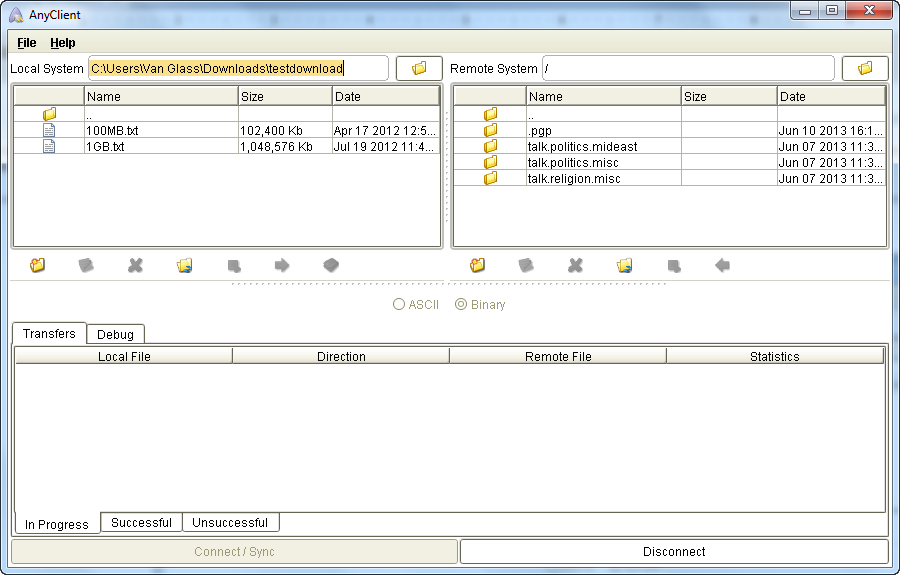
Assuming everything goes smoothly, the Connect dialog box will close and you'll be brought back to the home screen. You'll then be able to monitor the entire connection process through the panel found at the bottom of the home screen.
As soon as the connection completes, the right panel under the Remote System side of the home screen will activate and display the files and folders on the server.
Figure 18
Advanced WebDAV settings
Local Directory - The local directory to change to upon establishing a connection.
Remote Directory - The remote directory to change to upon establishing a connection.
Debug - If checked, debug mode is enabled and debug messages will be written to Debug pane and/or specified debug file.
Prompt for password - If checked password will not be saved in site profile and user will be prompted for password when connecting.
Certificate Authentication
Enable – Enables/disables client certificate authentication.
Certificate File - The private key to use in certificate authentication. Private key must be stored in PKCS#12 format.
Password - The password for private key.
Proxy Settings
If you're having trouble connecting to a server from your office LAN, it's possible that a proxy server is in the way. Contact your network administrator and, after confirming that a proxy indeed exists, ask for the required proxy settings. These are the information you'll need:
Proxy Host – The address and port number for your proxy server. Enter the address into the bigger box and the port number into the smaller box.
Proxy Type – The default is NONE, whereby you don't need to specify any proxy settings. The other two options are SOCKS5 and HTTP. Choose one from the drop-down list.
Proxy User – This is the username required to connect to the proxy server.
Password – This is the corresponding password for that username.
PGP Decryption Settings
Enabled - If checked PGP encrypted files matching regular expression will be automatically decrypted after download.
Filename regex - The regular expression to use to determine whether files are PGP encrypted.
Private key - The private key to use for decrypting PGP encrypted files.
Password - The password protecting the private key.
Public key - The public key to use for verifying the signature on a PGP encrypted file.
Delete source - If checked PGP encrypted files will be deleted after successful decryption.