If you decide to offers SSL services you have the option of generating your own self-signed certificate in MFT Gateway Manager, or you can create a certificate signing request (CSR) and have your certificate signed by a third party known as a certificate authority (CA).
Note
When using your own self-signed certificate clients may display a warning message letting the user know that the certificate in use is not signed by a known CA. This is not an error but rather a warning to the user that the certificate has not been validated by a trusted authority. If you wish to avoid this message you should create a certificate signing request have that certificate signed by a trusted certificate authority.
Generating a private key
The first step in obtaining a CA signed certificate is to generate your own server key. The most important thing to understand when generating your server key is that the "Common name" field should match the domain name that clients will use when connecting to your services. For example, if your services will be served under the domain ftp.mydomain.com then this is the value you should use in your Common name (CN) field when generating your private key.
See also
Generating a CSR
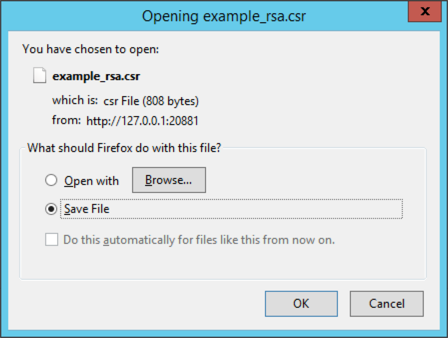
The next step is to create a certificate signing request for your server key. The CSR will be used by the CA in order to create a signed certificate. To generate a CSR, highlight the desired server key in the Server Keys panel and click the Generate CSR button. Your CSR will be generated and a dialog will prompt you to save the file.
Figure 13
Submitting CSR to CA
The next step is to submit your CSR to the CA for use in generating your signed certificate. Please consult your CA for instructions on how to accomplish this. Your CA may ask you in which format you would like the certificate. If this option is presented to you select the "Other", "Apache" or "Java" option to receive the certificate in a standard format. To request a signed certificate please visit the following:
https://www.securepaynet.net/gdshop/ssl/ssl.asp?prog_id=423530&ci=1789&
Importing signed certificate
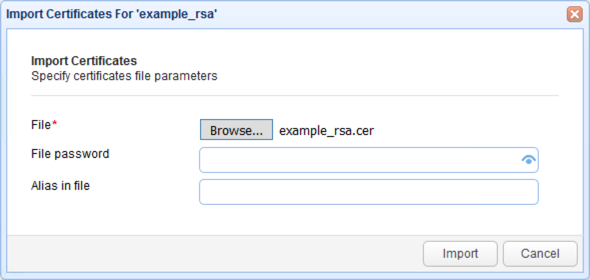
The last step is to import the signed certificate issued to you by your CA. To import the signed certificate select the server key that was used to generate the CSR and click the Import Certificate button. You will be prompted for the path of the certificate file issued to you by your CA.
Figure 14
Note
Some CA issue an intermediate certificate in addition to a signed certificate. If your certificate came with an intermediate certificate you will need to append the contents of the intermediate to the signed certificate issued to you by your CA. If your certificate did not come with an intermediate certificate you may skip these steps.
| 1. | Open your signed certificate and intermediate certificate files using a text editor e.g. notepad or vi. |
| 2. | Copy the full contents of the intermediate certificate and append to the end of signed certificate file. |
| 3. | Save signed certificate and continue with process of importing signed certificate. |
File - The file containing signed certificate.
File password - The password protecting certificate. Leave blank if none.
Alias in file - The certificate alias in file. Leave blank if none.
Verifying signed certificate
Upon successfully installing your signed certificate you can verify that it is working by connecting using any SSL enabled client and viewing the certificate details. You should notice in the certificate details that the CA is listed as a trusted authority for the certificate.