A trigger is a method of listening for events and responding with actions based on whether conditions are met. To view a list of triggers click on the Triggers node for the desired domain.
Figure 34
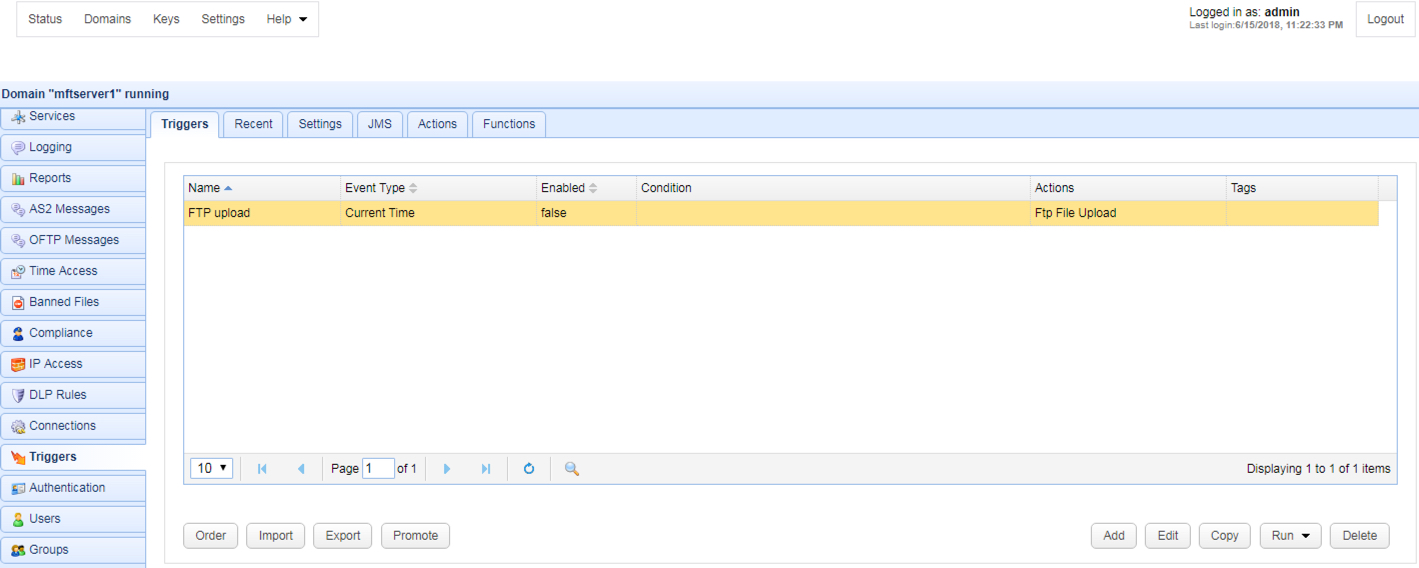
To add a trigger click on the Add button in the lower right corner. The Add Trigger wizard will be displayed.
Figure 35
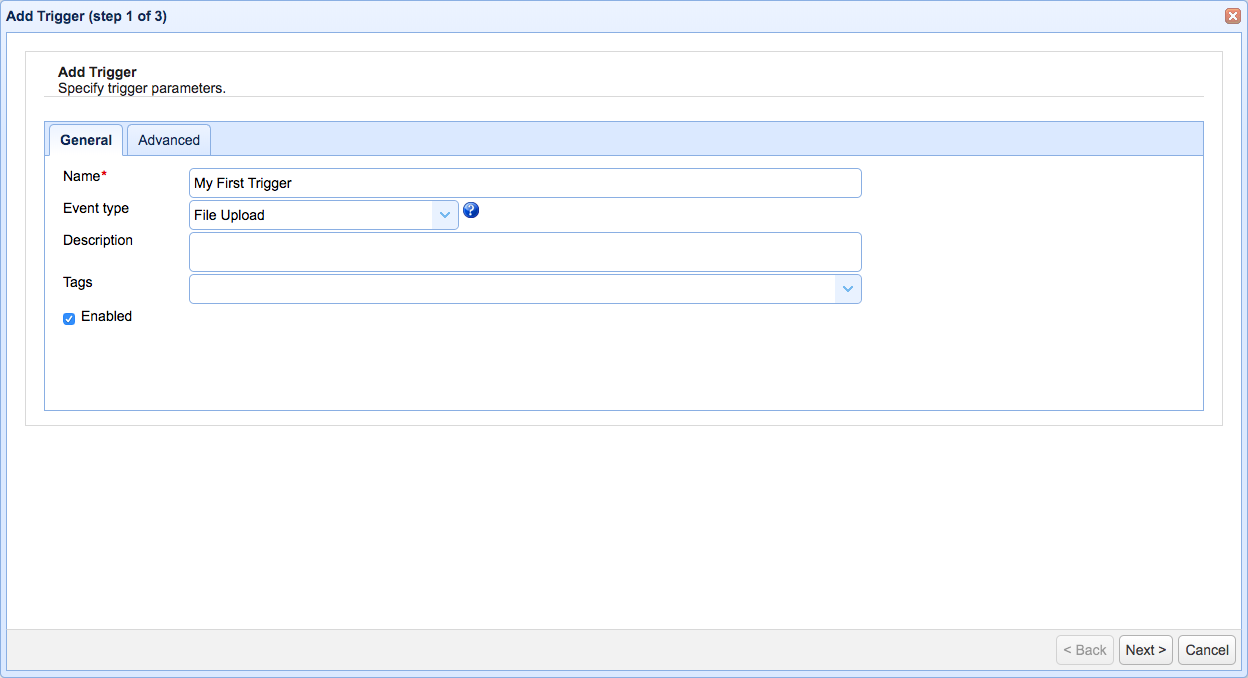
General
Name - A unique name identifying this trigger.
Event Type - The type of event you want to listen for.
Description - Description of this trigger.
Tags - If used, this trigger will only be visible to administrators with a system administrator flag or who have been assigned a role with specified tag.
Enabled - Enables/disables trigger.
Figure 280
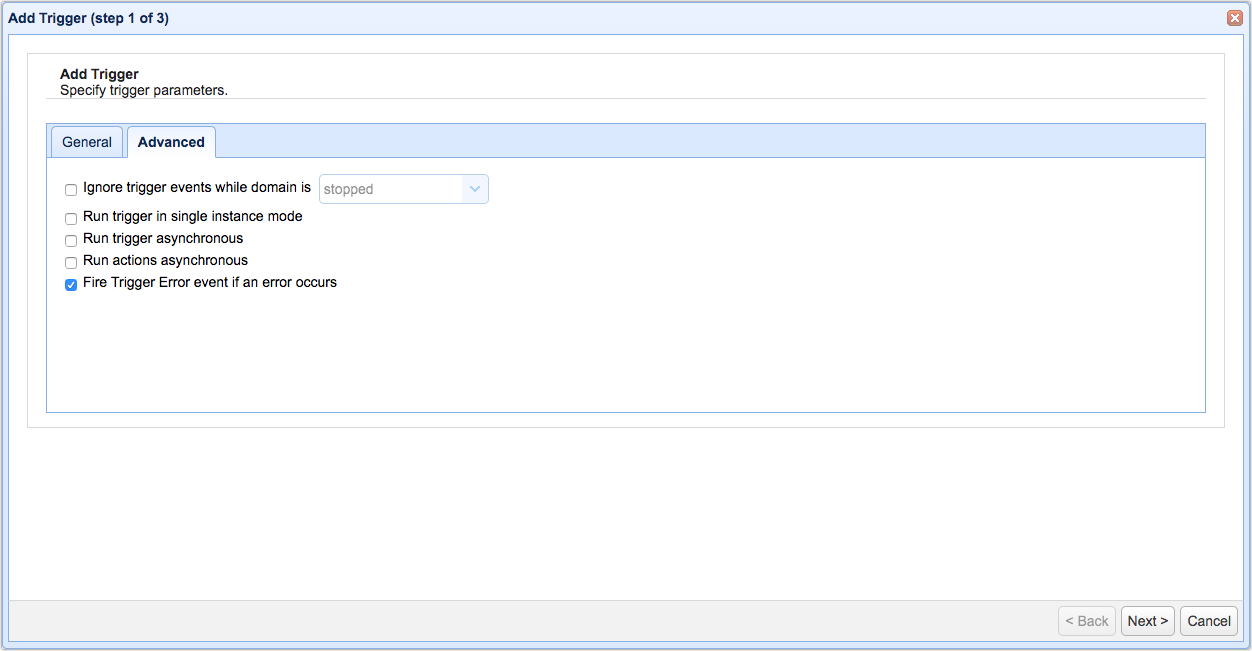
Advanced
Ignore trigger events while domain is - If checked, events will not be processed when domain is in specified state.
Run trigger in single instance mode - Specifies that only one instance of this trigger should be run at a time.
Run trigger asynchronous - If checked, trigger will be processed asynchronously.
Run actions asynchronous - If checked, trigger actions will be processed asynchronously.
Fire Trigger Error event if error occurs - If an error occurs while executing any of the actions associated with this trigger, a Trigger Error event will be raised. You may capture this event using a trigger that listens for the Trigger Error event and respond appropriately.
Click the Next button to proceed to the next screen and to specify trigger conditions, if any.
Figure 36

Expression - Enter a trigger condition (if any) in this text field. (See Writing conditions)
Variables - Click this button to display a list of supported variables. This list will vary depending on the Event type used in the previous screen.
Functions - Click this button to display a list of functions. (See Function types)
Constants - Click this button for a list of supported constants.
Operators - Click this button for a list of supported Operators (e.g. =, !=, <, >, etc.). Hover your mouse over an operator to see a context-sensitive help.
Time Expression - Click this button for a more convenient way of specifying time expression parameters. (See Using time based triggers).
Test Expression - Click this button to test your trigger condition. (See Testing conditions)
Click the Next button to proceed to the next screen and to add one or more trigger actions.
Figure 37
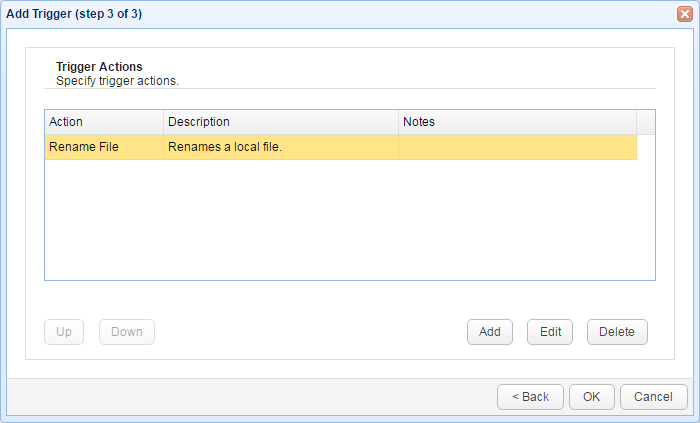
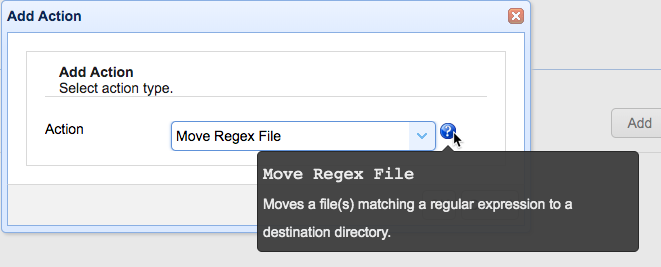
Add - Click this button to add a trigger action. To view a context help for a particular trigger action, select the action from the drop-down list and click the adjacent question mark icon (See Figure 281).
Edit - Click this button to make changes to an existing trigger action.
Delete - Select an existing trigger action and then click this button to delete it.
Figure 281
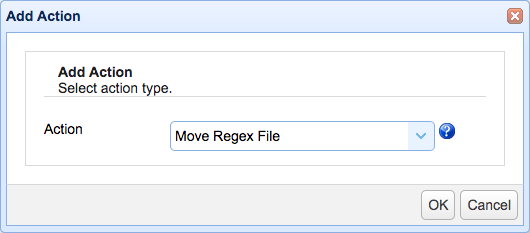
Click the OK button to proceed to the action parameters screen.
Figure 282
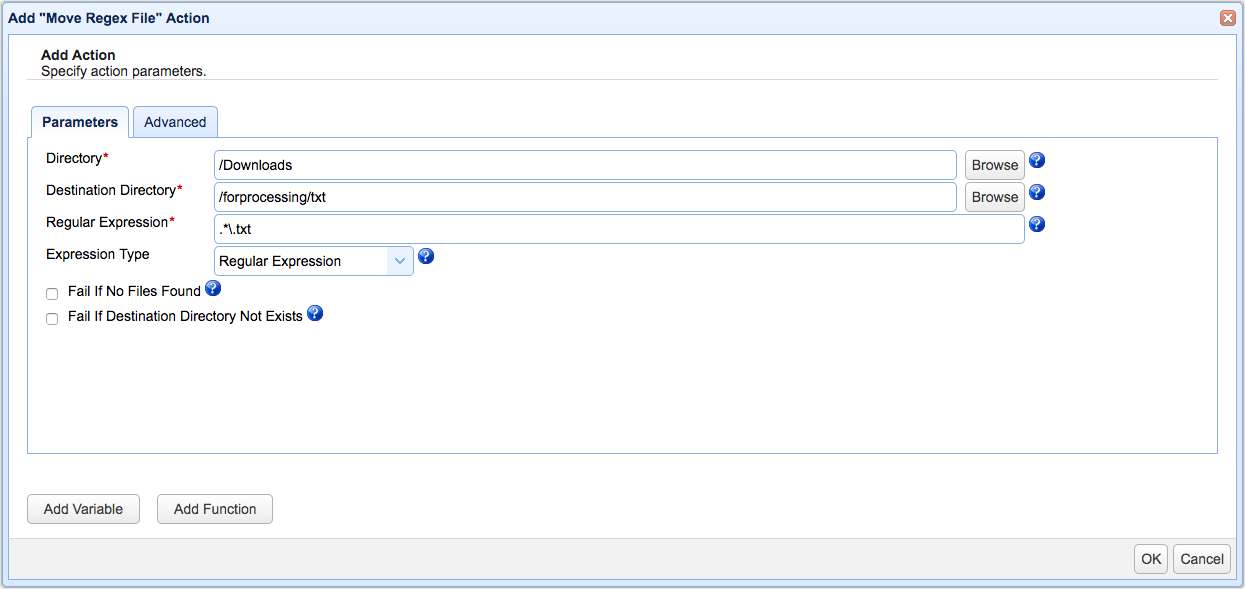
The contents of this screen will vary depending on the selected trigger action. Enter pertinent details for the action in question and click OK until you're back at the main Triggers module screen to complete the trigger creation process.
Figure 283
See also