JSCAPE MFT Server includes JSCAPE MFT Server Web Gateway, a browser based file transfer client for performing file transfer sessions with JSCAPE MFT Server.
JSCAPE MFT Server Web Gateway has all the common functions of a file transfer client without having to go through the trouble and cost of installing file transfer client software on your end-users computers. Additionally, since JSCAPE MFT Server Web Gateway communicates via HTTP/S you can easily give your users secure file transfer capabilities without having to deal with complex customer firewall issues often associated with FTP/SFTP protocols.
Step 1. - Enable HTTP/S services
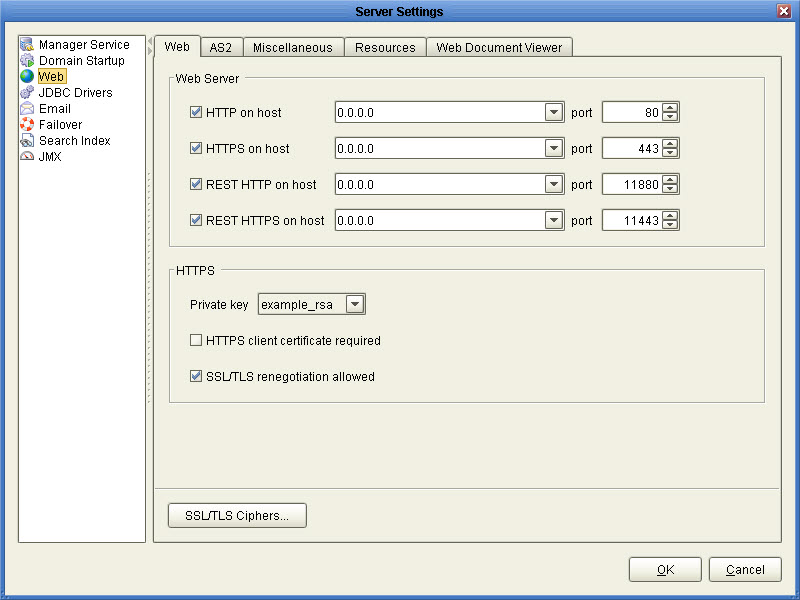
Go to the Server > Settings menu option and select the "Web" node. Here you will find a set of options for enabling HTTP/S services.
Figure 19

Web Server
HTTP on host - The host and port you want to enable HTTP service on. This will also be used for client REST services.
HTTPS on host - The host and port you want to enable HTTPS service on. This will also be used for client REST services.
REST HTTP on host - The host and port you want to enable REST management services on.
REST HTTPS on host - The host and port you want to enable REST management services on.
HTTPS
Private key - The SSL encryption key to be used for HTTPS services.
Redirect HTTP requests to HTTPS - Automatically redirects HTTP requests to HTTP.
HTTPS client certificate required - Requires that client browser successfully identify itself with a client certificate found in "Client keys" section of Key Manager.
SSL/TLS negotiation allowed - If enabled clients will be allowed to renegotiate SSL/TLS sessions.
SSL/TLS Ciphers - List of enabled SSL ciphers for HTTPS communications.
Miscellaneous
User interface - Sets what user interface options are available from login page.
Default domain - Defaults domain field to specified value when logging in via web interface.
Server name - Optional value if entered will replace any HTTP headers that contain hostname data with specified hostname. This is useful in cases where server operates behind a NAT enabled firewall and you do not want to leak internal hostname or IP address information.
Session timeout - The amount of time after which to close inactive HTTP/S sessions.
Hide domain - Hides domain field when logging in via web interface. If this option is checked then a default domain MUST be provided.
Show domain dropdown - If enabled a drop-down of all available domains is displayed for the Domain field when logging in via the web interface, otherwise a text field is displayed requiring user to type in domain.
Redirect HTTP to HTTPS - Redirect incoming HTTP requests to secure HTTPS service.
Show lost password link - If enabled the "Lost password" link will be displayed on web interface login page allowing user to reset their password via email.
See also
Obtaining a trusted certificate
Step 2. - Add HTTP/S services to your Domain.
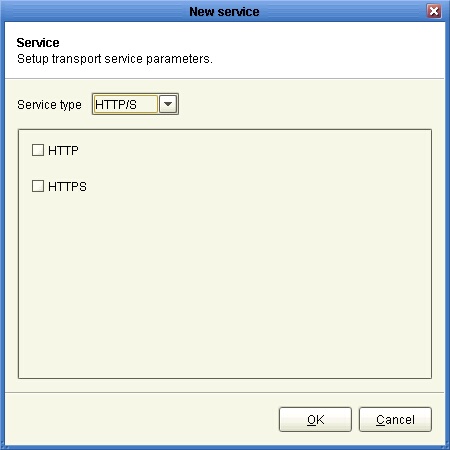
For the desired domain go to the "Services" node and click the "Add" button. When prompted set the "Service type" to "HTTP/S" and select the desired protocols you wish to accept file transfers for.
Figure 33

See also
Obtaining a trusted certificate