The SFTP/SCP service supports public key authentication. In public key authentication the client authenticates with the server using a username and private key (optionally password protected) accessible only to the user. For increased security the SFTP/SCP service may be configured to require both a private key and the account password. In order to use public key authentication the SFTP/SCP service must be configured properly (See Setting SFTP/SSH authentication mode) and a public key must be associated with the user.
To associate a public key with a user you may store the key in the centralized Key Manager, or you can allow the user to manage their own key (See Web user interface for details). To create a key using the Key Manager follow the steps below.
Create a client key
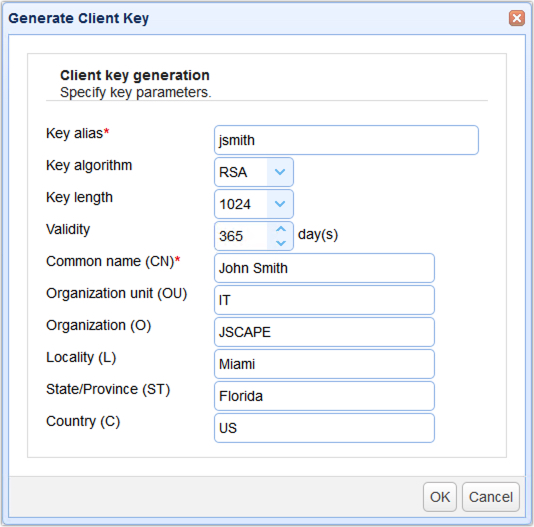
1. Go to Keys > Client Keys panel and click on the Generate button to create a new client key. When prompted for a Key alias it is recommended you enter the username that you would like to associate this key with. For the Type and Length fields you may leave these as the default values or select from options provided. Click OK to continue.
Figure 66
2. Next you will need to export the private key. This is the key you will use in your SFTP/SCP client for authenticating with the SFTP/SCP service. When exporting private key select the PEM file type format. If your SFTP/SCP client requires a different format you may select that format from the available Format options. Click OK to export your private key and add client key to the Client Keys listing.
Figure 68

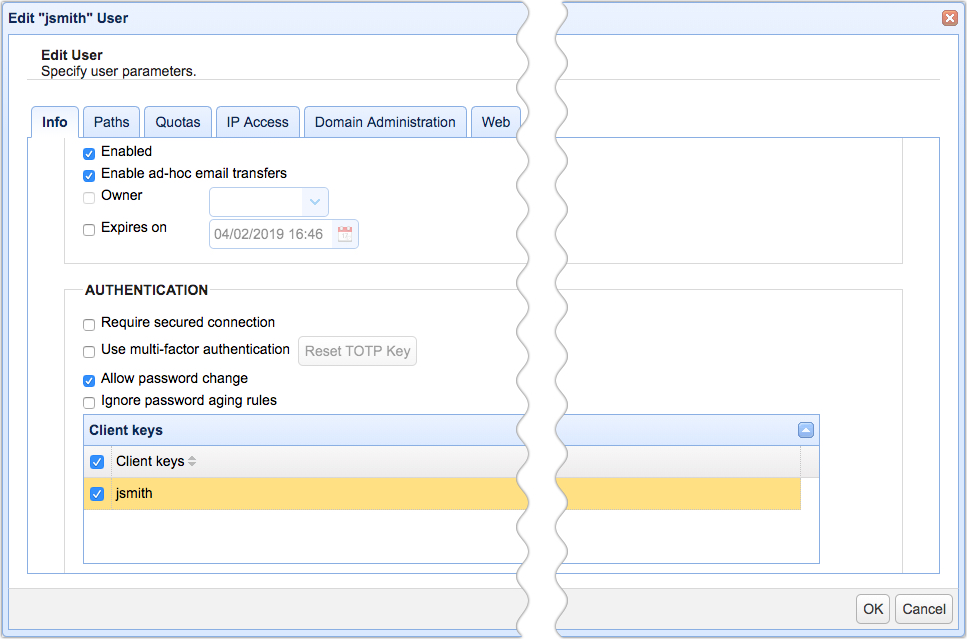
3. The next step is to bind this client key to the user. This allows this client key to be used by this user for authentication purposes. Navigate into the domain where this user belongs to, go to the Users node, select the user for this key and click Edit button. Expand the Client keys section, check the client key that you created earlier and click OK.
Figure 105
4. Next you must add the SFTP/SCP service with the option to allow authentication using public keys. If you have already done this then you may skip this step. Otherwise, go to the Services node, select the Add button and select the SFTP/SCP protocol. Set the Authentication option for service to use one of the publickey options and click OK. In case you already have an existing SFTP/SCP service but that service is using password authentication, select that SFTP/SCP service, click the Edit button, and then change the Authentication to any of the publickey options.
5. You have successfully enabled public key authentication for the SFTP/SCP service. To authenticate, instruct your SFTP/SCP client to use the private key you exported in Step 2. Some SFTP/SCP clients, e.g. Putty, use a proprietary private key format. Therefore it may be necessary that you convert the PEM formatted key to the client proprietary key format prior to connecting. For Putty client you may use the puttygen.exe utility to make this conversion.
See also
Setting SFTP/SSH authentication mode