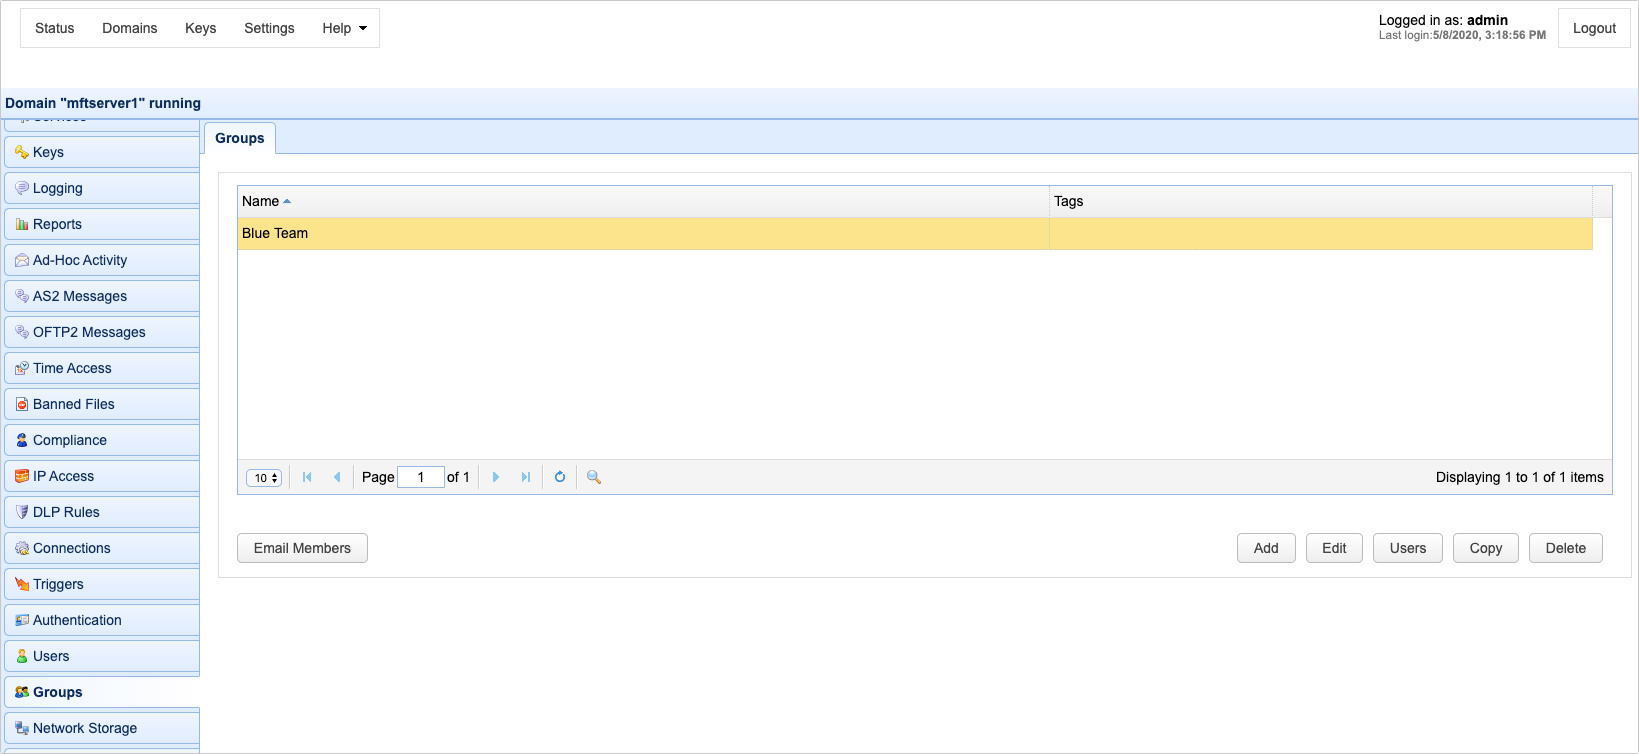
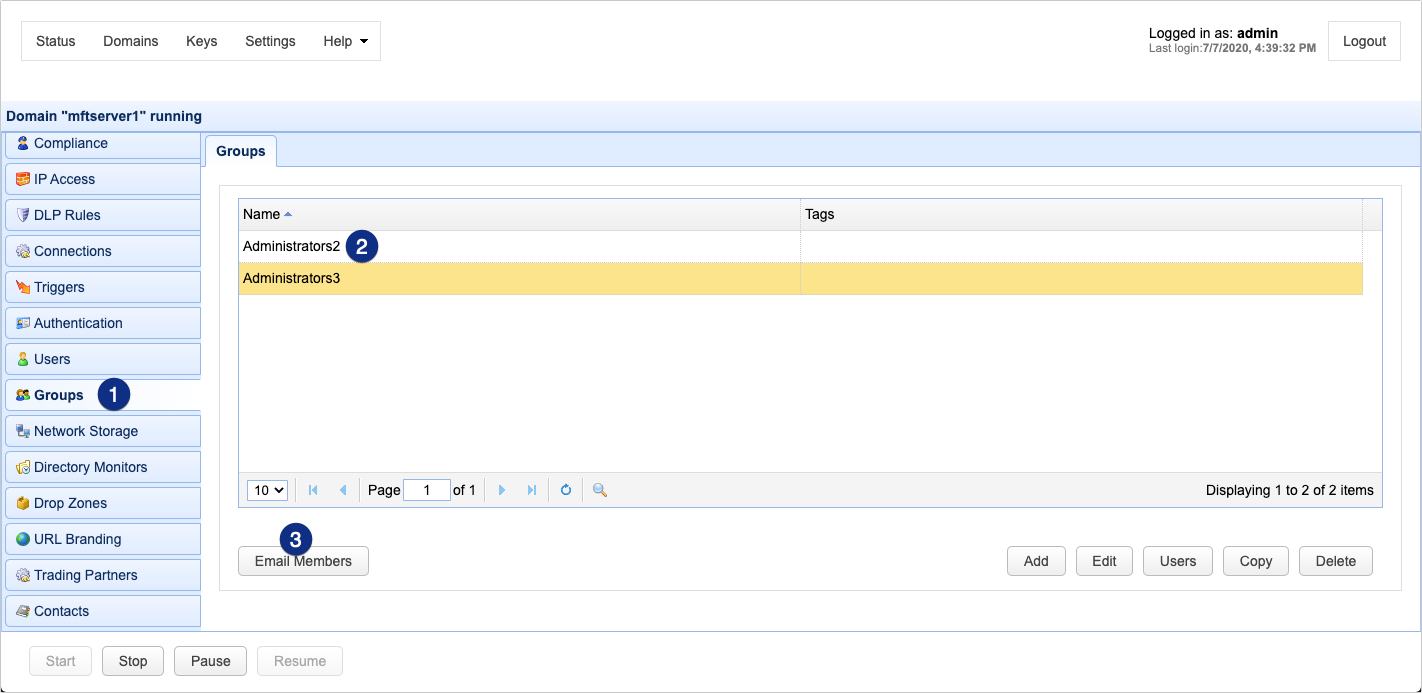
A group is a named set of virtual directories and file system permissions that may be assigned to zero or more user accounts. This is useful in the event you wish to manage permissions for multiple users based on user roles. To view a list of groups click on the Groups node for the desired domain.
See:
Figure 26
Adding a Group
To add a group click on the Add button in the lower right corner. The Add Group dialog will be displayed.
Figure 27

Name - The unique name for this group.
Path - The unique virtual path for this group.
Real path - The real physical directory for this path. Note: You will be able to add more virtual paths and permissions using the Edit Group function.
Network Storage - The network storage to associate with this virtual path.
To add users to a group, select an existing group and then click the Users button.
Figure 350
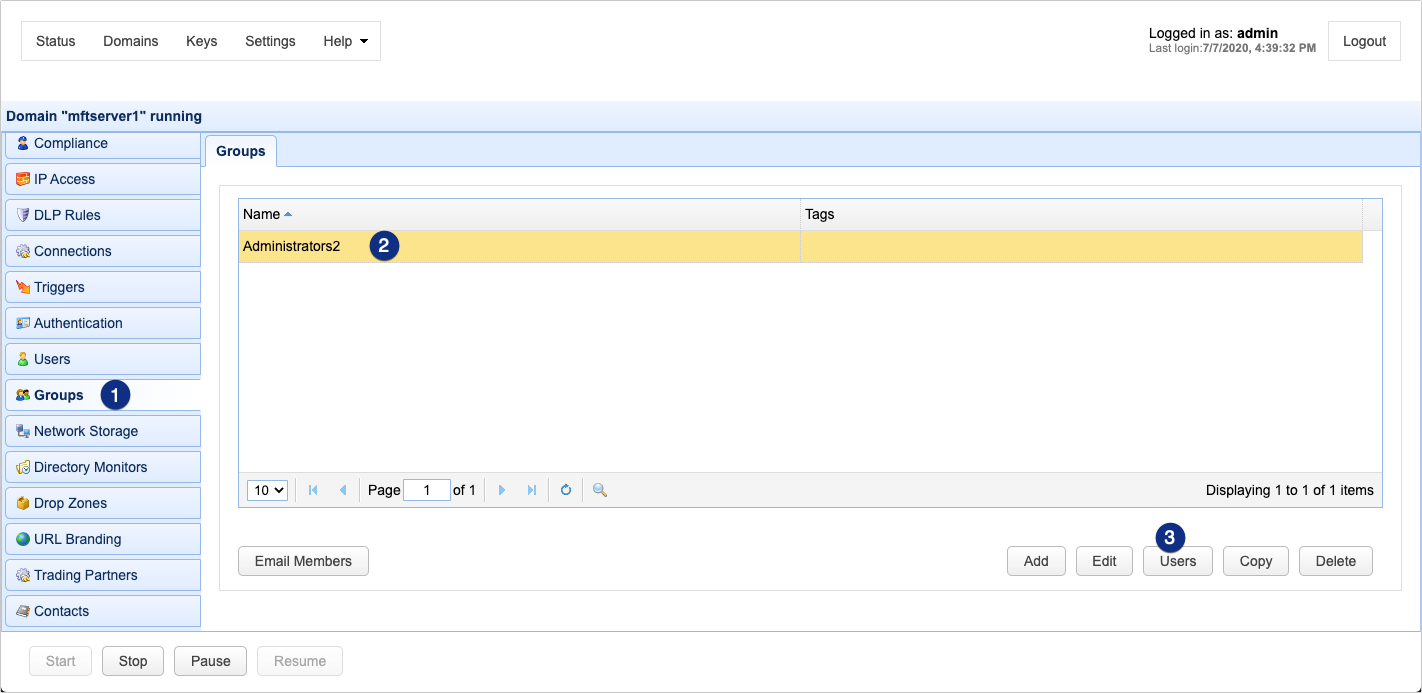
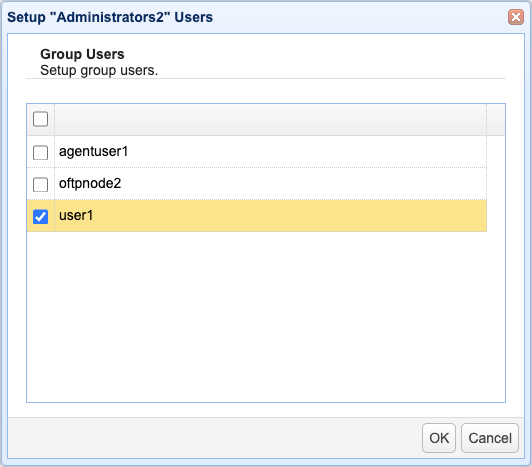
Select the users you wish to add to the group and then click OK.
Figure 351
To edit a group, highlight the group name you would like to edit and click the Edit button. The Edit Group dialog is displayed.
Figure 31
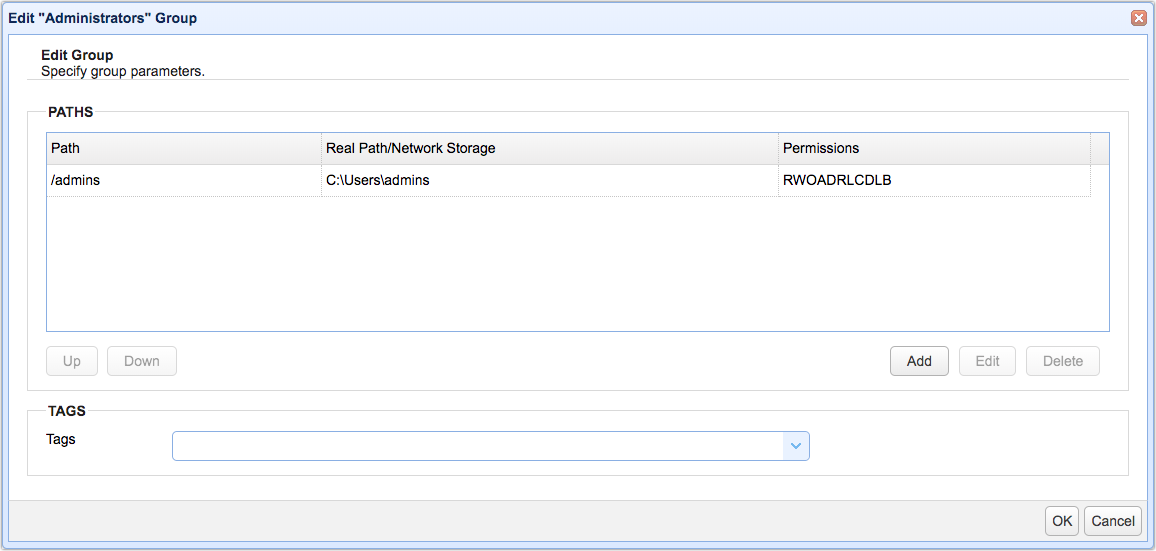
Path - The virtual path.
Real Path/Network Storage - The real path or network storage this path is mapped to.
Permissions - The permission settings for this path.
To copy a group, select the group you want to copy and then click the Copy button.
Figure 352
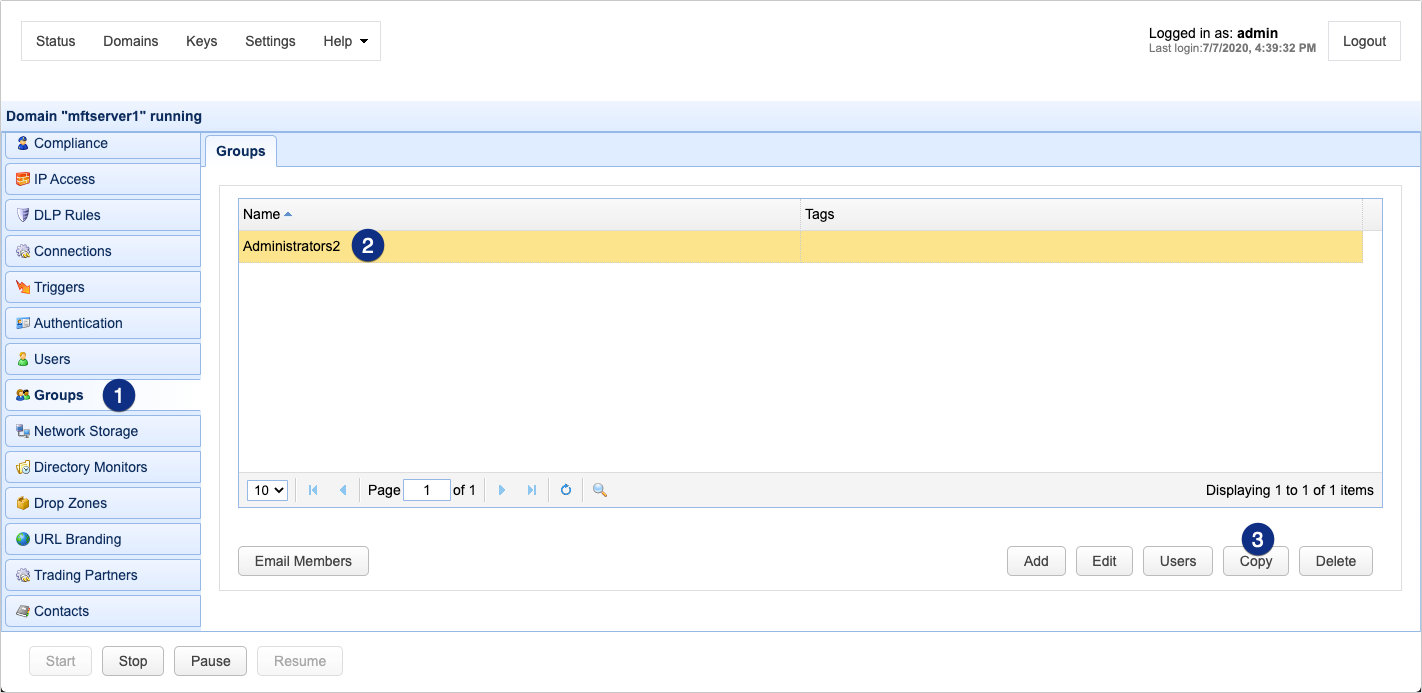
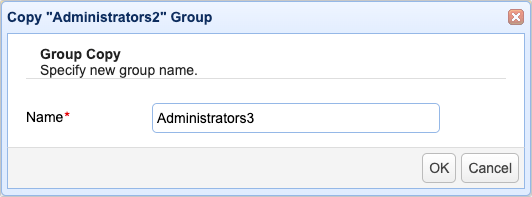
Give the new group a name and then click OK.
Note: When you copy a group, only the group's virtual path details and permissions will be copied. You still have to add users to the newly created group.
Figure 353
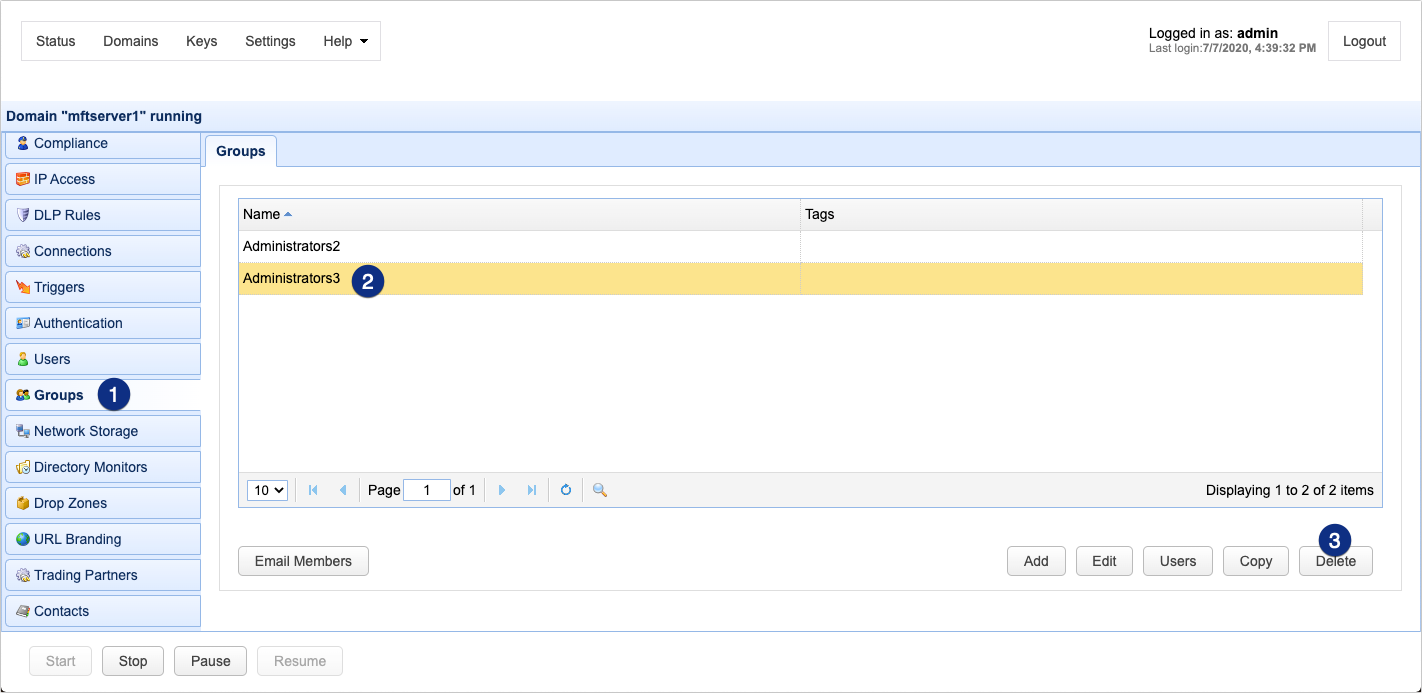
To delete a group, select the group you want to delete and then click the Delete button.
Figure 354
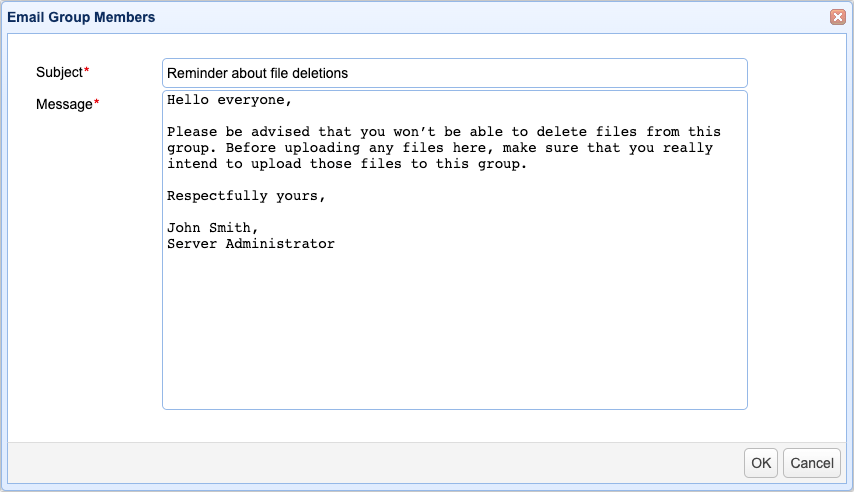
To send an email to members of a particular group, select the group in question and then click the Email Members button.
Figure 356
Enter the subject and message for this email and then click OK.
Figure 355
