The ability to export and import triggers can come in handy in situations wherein you want to copy certain triggers from one instance of MFT Server to another. For example, you can use this feature if you're creating triggers in a test environment and want to apply those trigger definitions to your production environment.
Exporting triggers
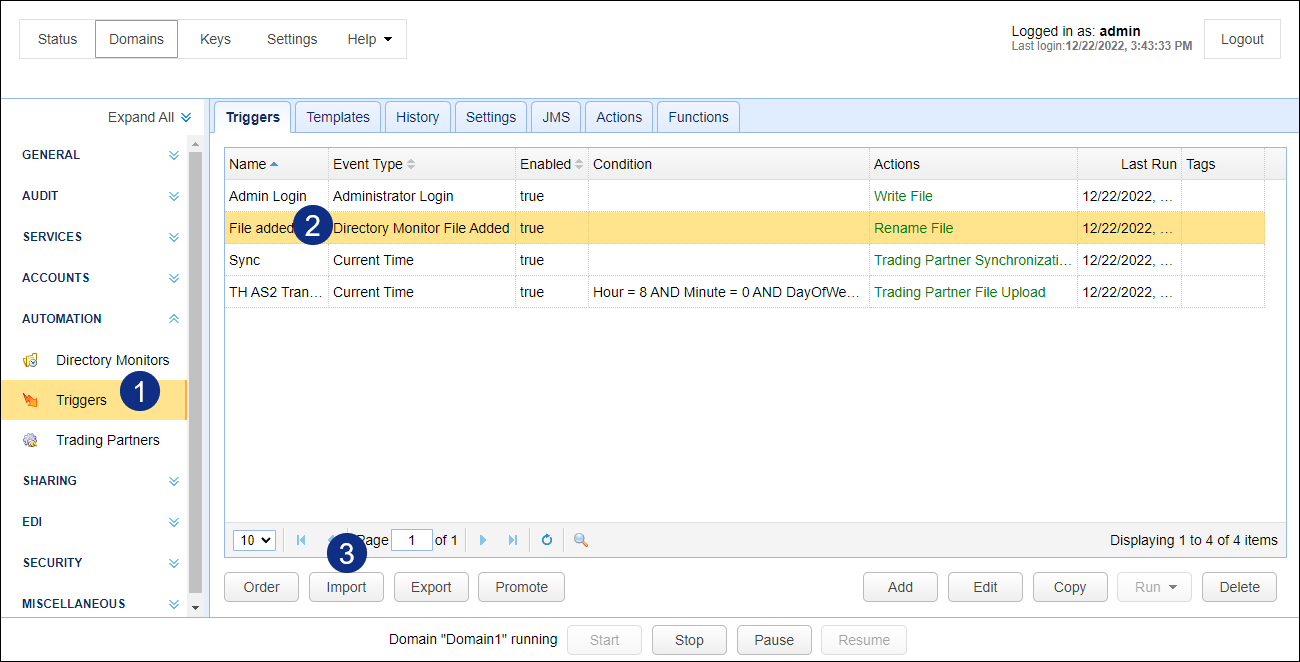
To export a trigger, go to the AUTOMATION > Triggers > Triggers tab and select the trigger(s) you want to export. Next, click the Export button.
Figure 255

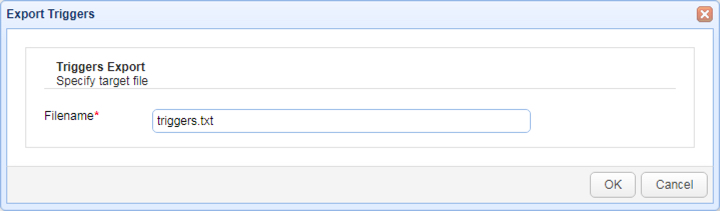
The selected triggers will then be exported to a file using JSON format. You may specify the filename of the file where you wish to store the trigger definitions.
Figure 256
Importing triggers
You can use this feature to import trigger definitions. For example, you can use it to import triggers which you may have exported from another MFT Server instance.
There are few ways to import a trigger. You can use the Import button or Import (right-click) menu option, or you can use the drag and drop method.
Regardless of the method used, first navigate to the AUTOMATION > Triggers > Triggers grid.To use the Import button or Import menu method, click on the Import button, or right-click anywhere in the grid area and select Import from the pop-up menu.
Figure 257
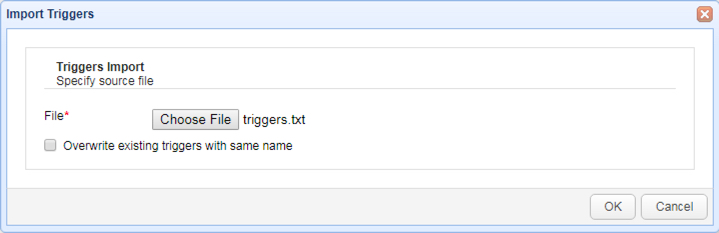
The Import Triggers dialog will appear, as depicted in the image below. Navigate to the location of your trigger definitions file and select the file.
You have the option to overwrite existing triggers with the same name. Check the check box provided if that's what you want to do.
Click OK to perform the import.
Figure 258
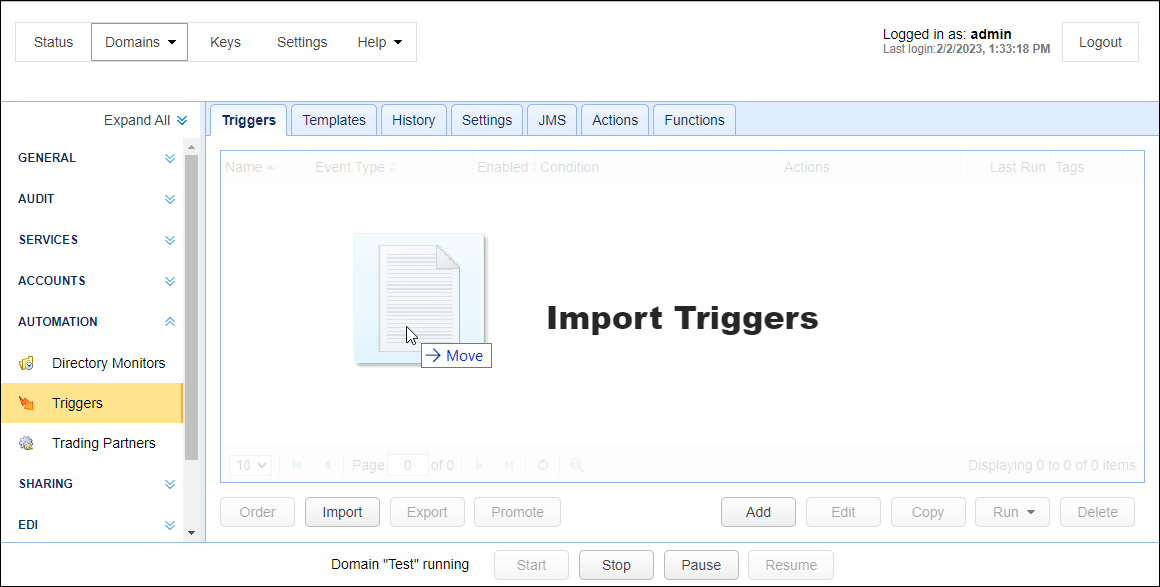
To use the drag and drop method to import the triggers file, use your operating system features to navigate to the file you wish to import. For example, using Windows, open File Explorer then navigate to the triggers file. Drag the file from Windows File Explorer and drop it on the Triggers grid when you see the "Import Triggers" text pop up, as depicted in the image below.
Figure 470
An Import Triggers dialog will pop up, similar to what is depicted in figure 258.
File - This field will be read-only, displaying the name of the import file.
Overwrite existing triggers with same name - When checked, an existing trigger will be overwritten. Check the check box provided if that's what you want to do.
Click OK to perform the import.
Promoting triggers
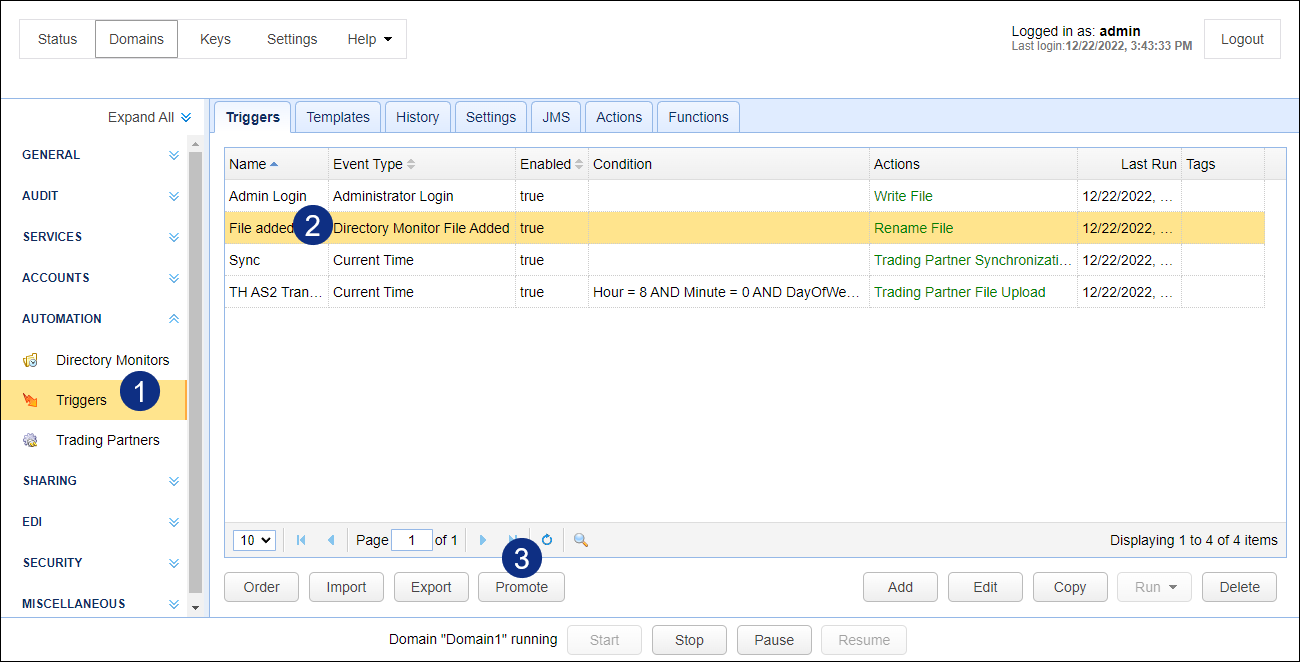
Use this feature to publish one or more triggers to a remote MFT Server instance. It's basically as if you're exporting and importing triggers without the use of trigger definition files. To promote one or more triggers, navigate to the AUTOMATION > Triggers > Triggers tab, select the trigger(s) you want to publish, and then click the Promote button.
Figure 259
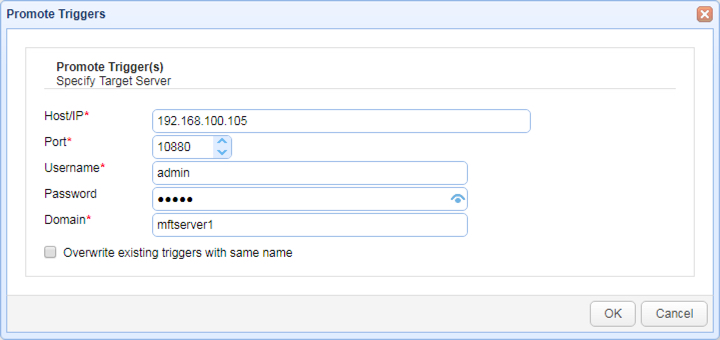
When the Promote Triggers dialog appears, specify the following parameters and then click OK.
Host/IP - The hostname or IP address of the target MFT Server instance
Server port - The port number of the Management REST API. The default is 10880
Username - A valid administrative username on the target MFT Server instance
Password - The username's corresponding password
Domain - The domain on the target MFT Server instance where you want to publish the selected triggers
Overwrite existing triggers with same name - Check this if you want to overwrite existing triggers with the same names as the triggers you wish to publish.
Figure 260