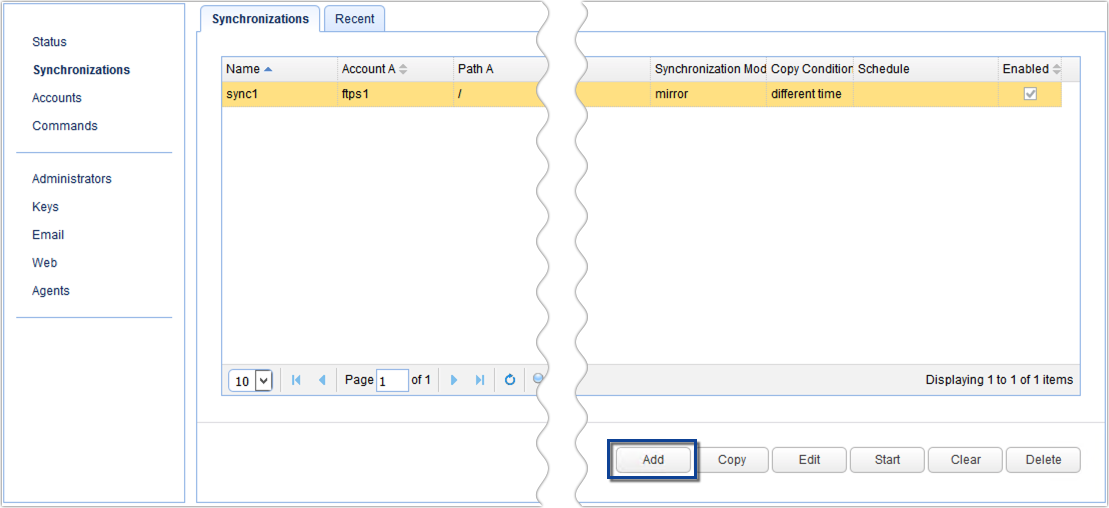
To add a synchronization, navigate to the Synchronizations module and click the Add button.
Figure 58

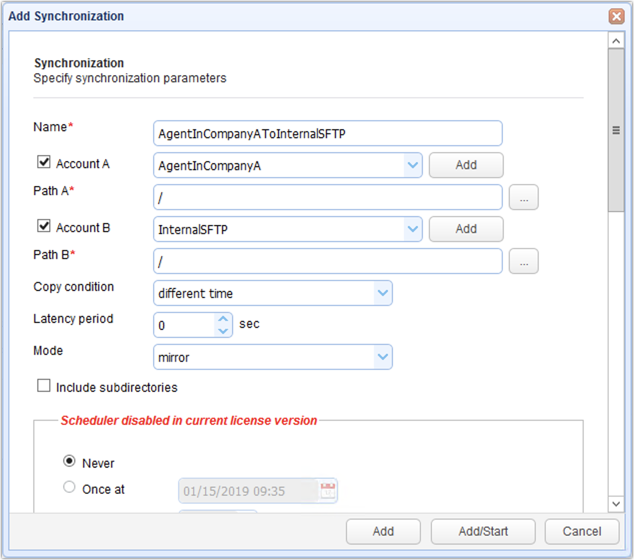
Once the Add Synchronization dialog appears, specify the basic parameters:
Name - The name of the synchronization.
Account A - The synchronization source or where you are synchronizing from. Enable this if you want to specify an account as the source. Disable this if you want JSCAPE MFT Synchronizer to act as the source. You can select an existing account from the drop-down list or create a new one by clicking the Add button.
Path A - This is the source path, whose value can be either a relative path (if Account A is enabled) or an absolute path (if Account A is disabled). If Account A is enabled, Path A should be a path relative to the account specified, which is understood to reside in a remote host. If Account A is disabled, Path A should be the path to a local directory.
Account B - The synchronization target or where you are synchronizing to. Enable this if you want to specify an account as the target. Disable this if you want JSCAPE MFT Synchronizer to act as the target. You can select an existing account from the drop-down list or create a new one by clicking the Add button.
Path B - This is the target path, whose value can be either a relative path (if Account B is enabled) or an absolute path (if Account B is disabled). If Account B is enabled, Path B should be a path relative to the account specified, which is understood to reside in a remote host. If Account B is disabled, Path B should be the path to a local directory.
Read the Synchronizations Overview for a more detailed description of Account A and Account B.
Copy condition - The condition MFT Synchronizer will use to determine when to commence copying files
| • | different time - copies files when the timestamp on A is different from the one on B |
| • | different size - copies files when the size on A is different from the one on B |
| • | different content - copies files when the content on A is different from the one on B |
Note: different time and different size conditions process relatively faster than different content.
Latency period - Files on A that are modified within the specified latency period will not be synchronized
Mode - The modes of synchronization
| • | mirror - New and modified files from A are copied to B; redundant files in B will be deleted |
| • | synchronize - New and modified files from both paths are copied to each other |
| • | backup - All files from A are copied to B |
| • | contribute - New and modified files from A are copied to B |
Include subdirectories - tick this checkbox if you want subdirectories and their contents to be included in the synchronization.
Enable debug - tick this checkbox if you want a debug log to be generated for this synchronization
Enabled - This is ticked by default. Un-tick this checkbox if this is a scheduled synchronization and you want to disable it temporarily.
Figure 59

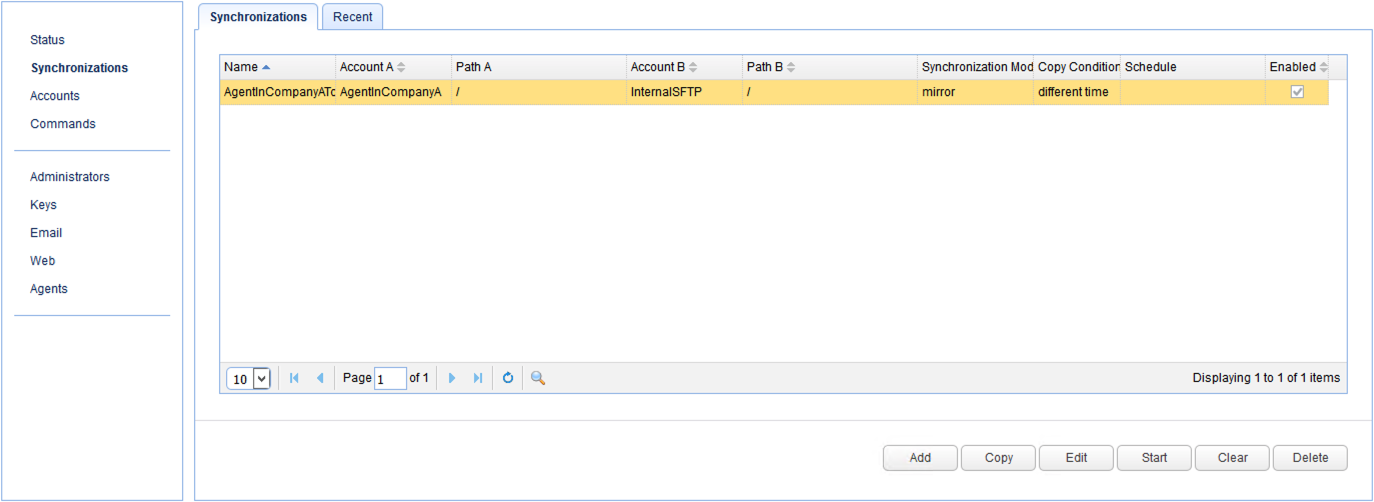
Click Add or Add/Start to proceed and then click the OK button in the succeeding dialog to finalize the Synchronization creation process.
Figure 60
