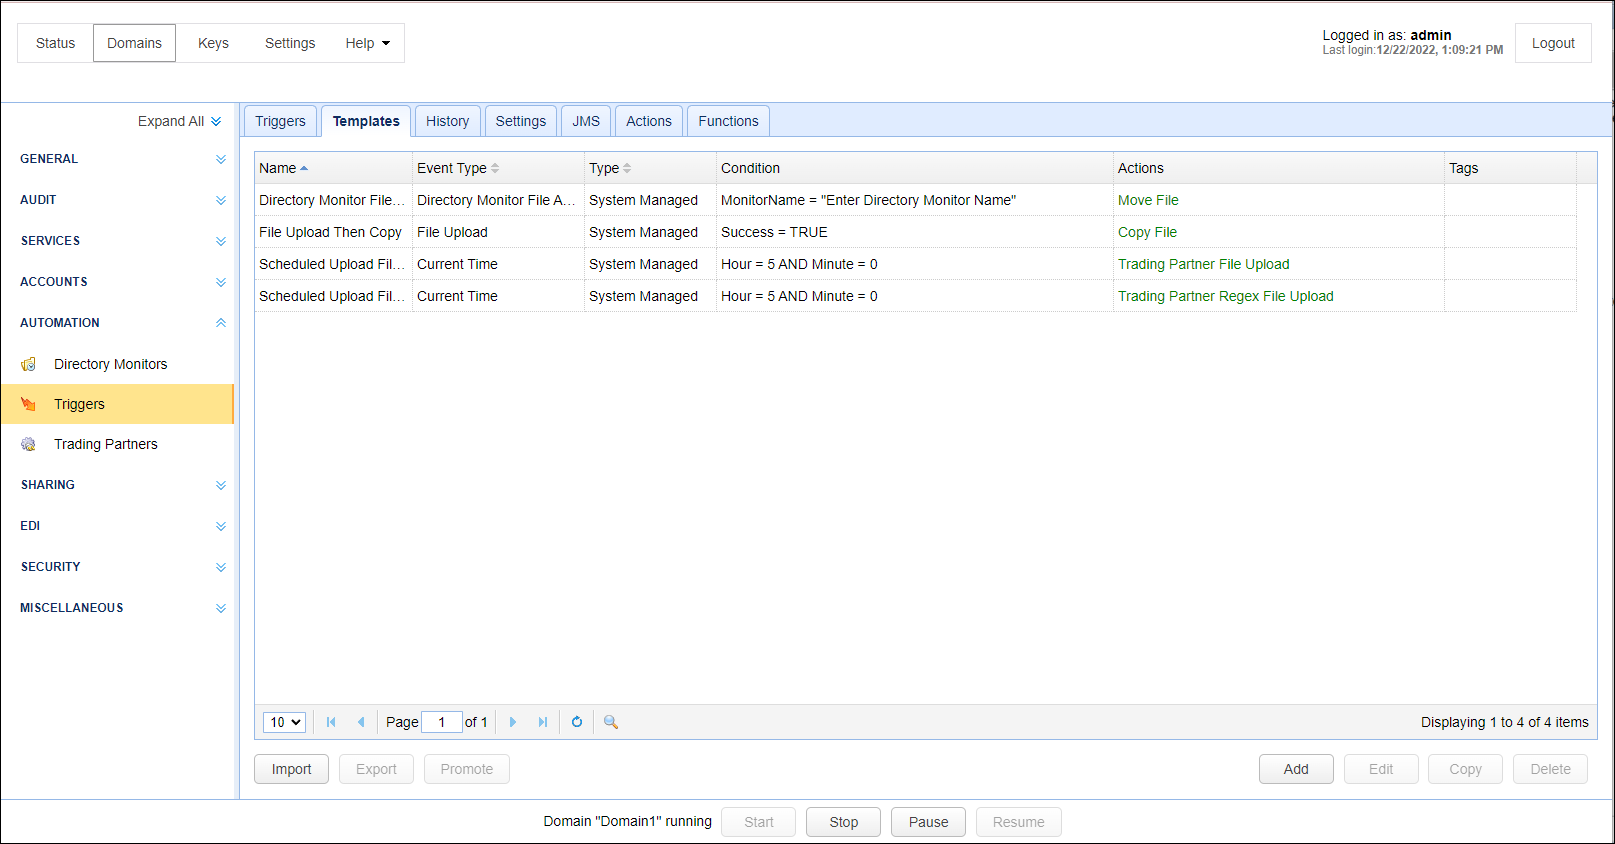
Trigger templates are designed to simplify the trigger creation process by enabling server administrators to create triggers with pre-configured settings (event type, conditions, trigger actions, etc.) based on certain use cases. For example, there might be a template for encrypting file uploads. This template might already contain the File Upload trigger event type and the Encrypt File trigger action. Or there might be a template for pushing files to a trading partner on a pre-defined schedule. As with the previous example, this template might already contain the Current Time event type and the Trading Partner File Upload trigger action.
There are two types of trigger templates:
System trigger templates - These are templates that ship with each installation of MFT Server
and
User-created trigger templates - These are custom templates server administrators create via AUTOMATION > Triggers > Templates > Add See Adding trigger templates
When creating a new trigger (See Adding triggers), the administrator may select a trigger template that suits his/her desired use case and just modify settings as he/she sees fit. This would significantly reduce trigger creation time and accelerate onboarding of administrators who are new to the MFT Server environment.
All succeeding operations are carried out in the Templates tab of the AUTOMATION > Triggers module.
See:
Figure 360
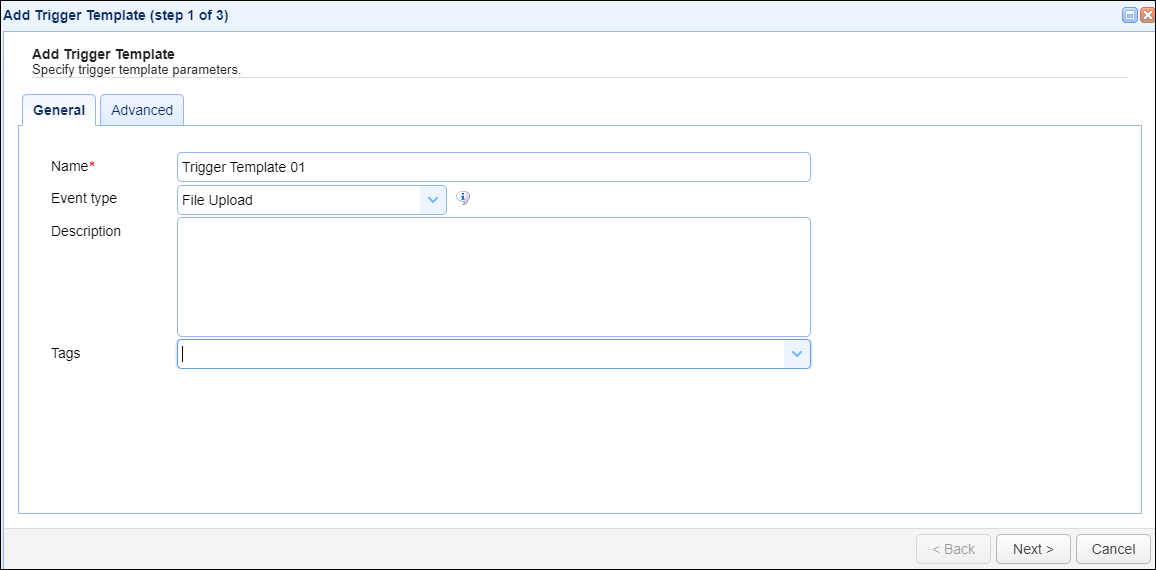
To add a new trigger template, click the Add button. You may then configure settings as you would when creating a trigger (i.e. specify a name, select an event type, specify conditions, add trigger actions, and so on). See Adding triggers. Once you're done, this template will then be saved under the Templates tab instead of the Triggers tab.
Figure 361
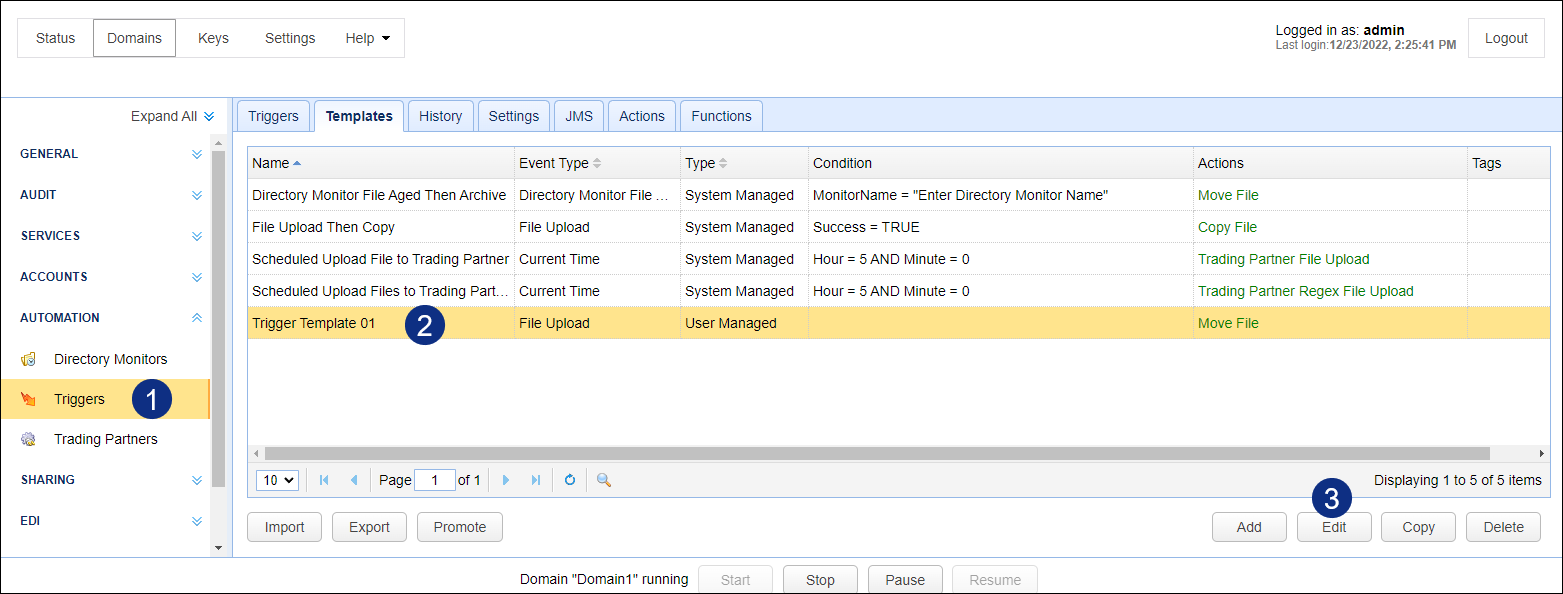
You may make changes to an existing trigger template by selecting the template in question and then clicking Edit.
Figure 362
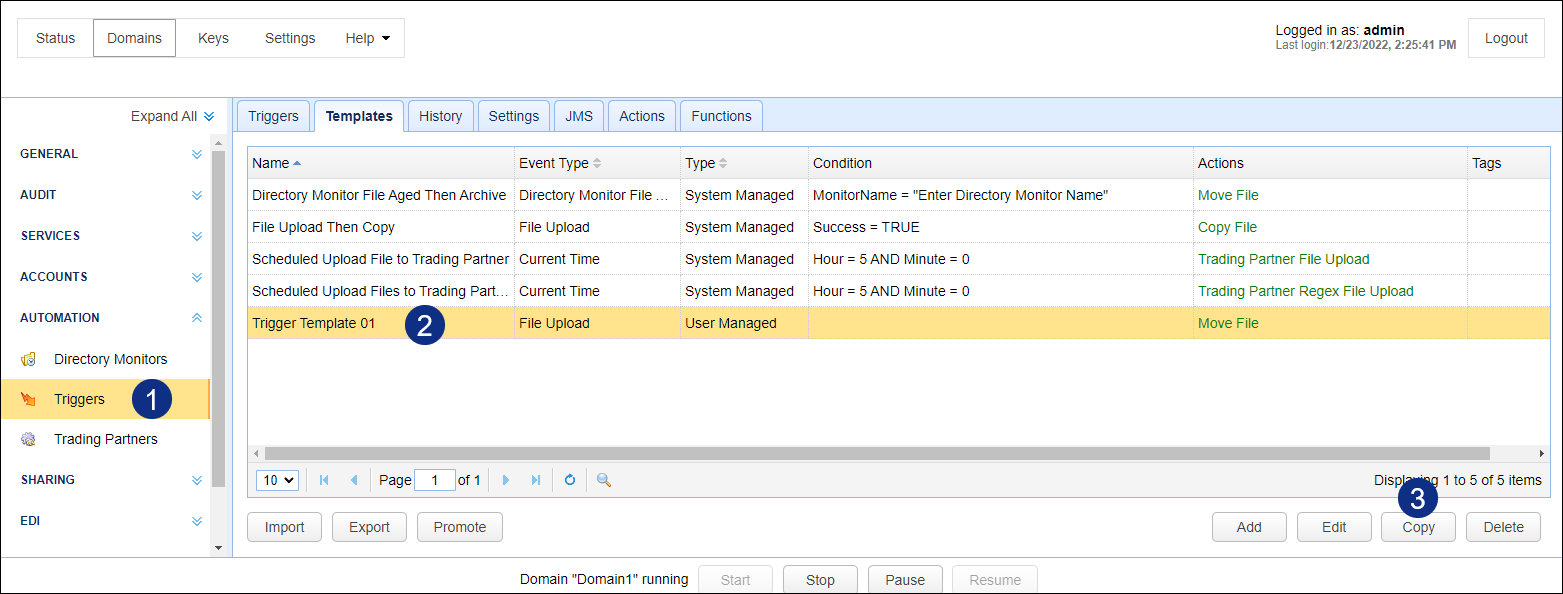
To copy an existing trigger template, just select the template in question and then click Copy.
Figure 363
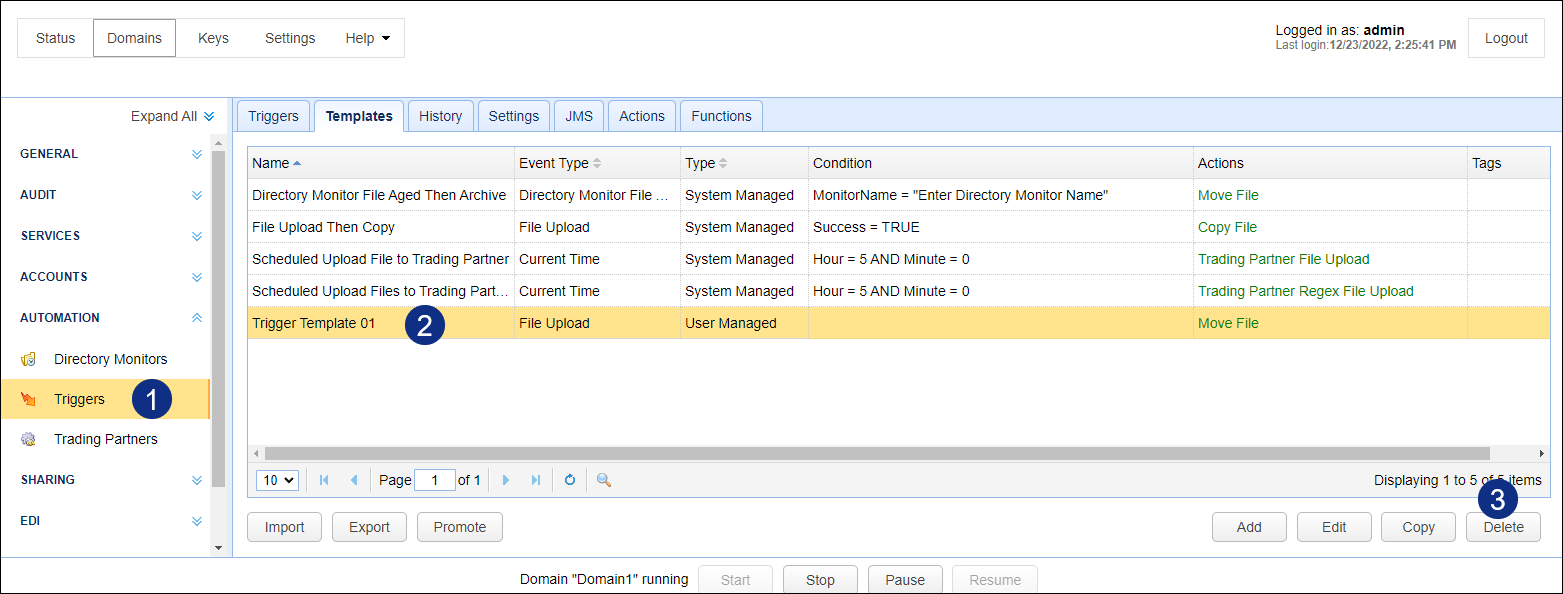
To delete an existing trigger template, just select the template in question and then click the Delete button.
Figure 364
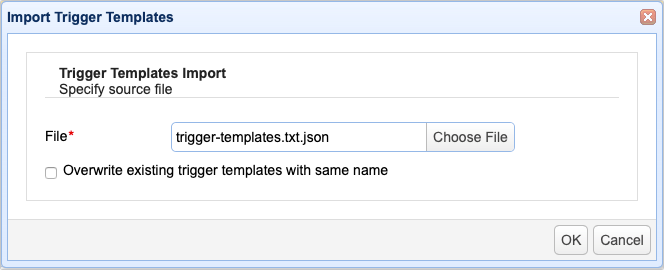
The purpose of this feature is to enable you to import a trigger template that was previously exported from another MFT Server instance. To import a template, just click the Import button. Once the Import Trigger Templates dialog appears, click Choose File and select the trigger template file (a .json file) from your file system. If you wish to overwrite any existing trigger template that bears the same name as the trigger template you're about to import, just click the check box provided. Click OK when you're done.
Figure 365
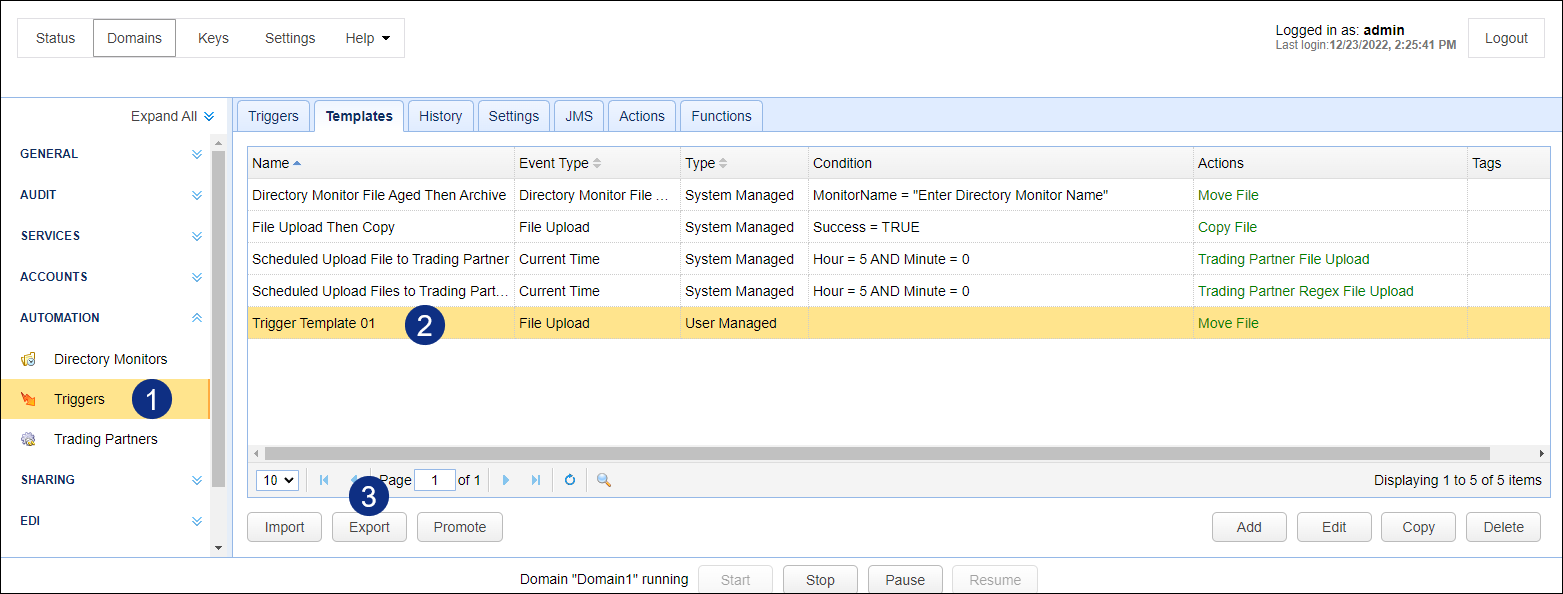
You may export a trigger template with the purpose of importing it to another MFT Server instance. To export a template, just select the template you wish to export and then click the Export button. The exported template will be saved in a .json file. It's this file that you will then import to the target MFT Server instance.
Figure 366
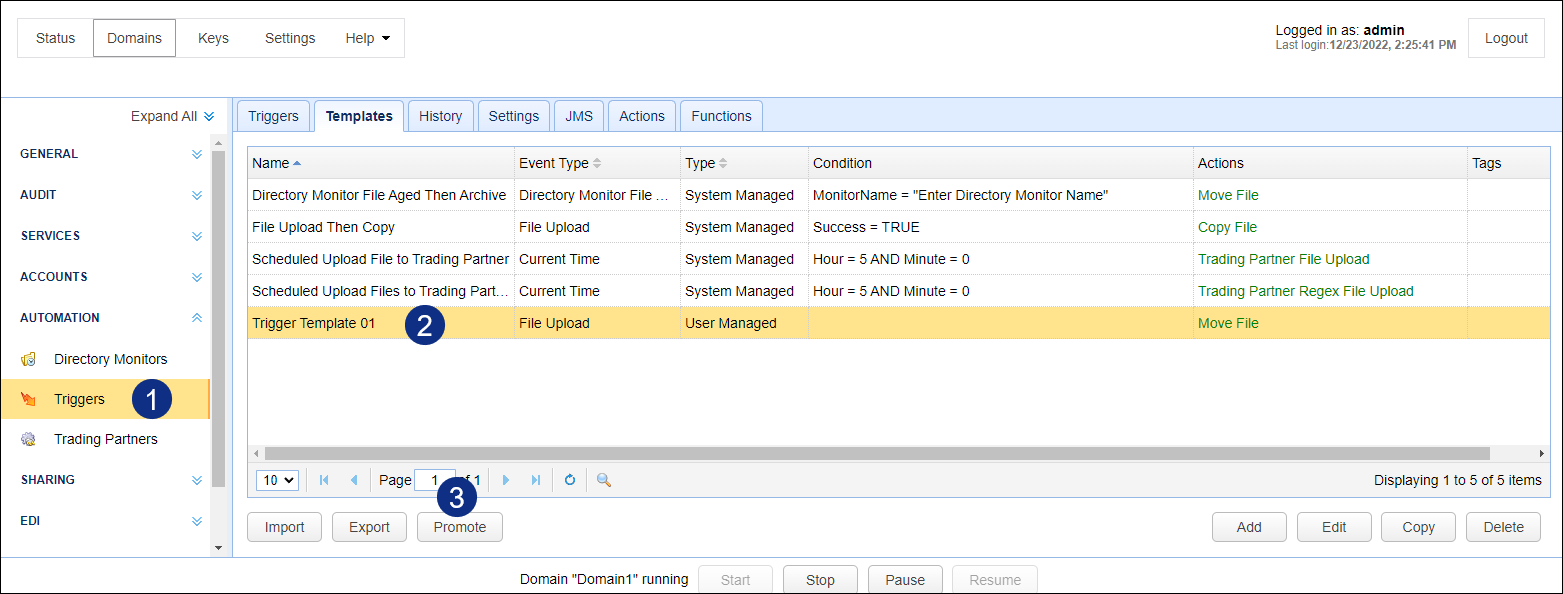
Use this feature to publish one or more trigger templates to a remote MFT Server instance. It's basically as if you're exporting and importing templates without the use of template definition (.json) files. To promote one or more templates, navigate to the Templates tab, select the template(s) you want to publish, and then click the Promote button.
Figure 367
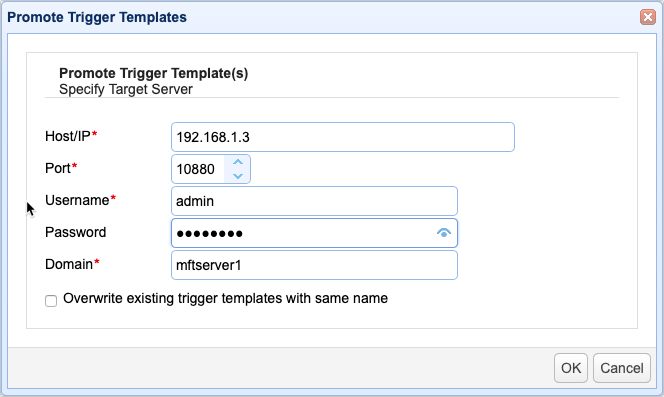
Once the Promote Trigger Templates dialog appears, specify the following:
Host/IP - The hostname or IP address of the target MFT Server instance
Server port - The port number of the Management REST API. The default is 10880
Username - A valid administrative username on the target MFT Server instance
Password - The username's corresponding password
Domain - The domain on the target MFT Server instance where you want to publish the selected templates
Overwrite existing trigger templates with same name - Tick this if you want to overwrite existing templates with the same names as the templates you wish to publish.
